General Best Practices
- ==Apply Scale after
Ctrl + Ato objects.== to zero it out. - Increase Bevel weight to max for Edges to fix bevels, in the transform menu after hittingNwhile ineditmode.
Hotkeys
| Command | Hotkey | Optional addtl keys |
|---|---|---|
| Duplicate selected object | shift + D | x,y,z |
| Add object | shift + A | |
| Swap edit <> Object mode | tab | |
| Enter bevel mode | ⌘ + R | |
| Grab/move | G + (x,y,z) | x,y,z |
| Scale | S + (x,y,z) | x,y,z |
| Loop cut | ⌘ + R | |
| Delete | X | |
| Move to collection | M | |
| Rotate | R | x,y,z |
| Save/Apply Settings | ctrl + A | |
| Zoom to | ~ | |
| Fly mode | shift + ~ | W,A,S,D,Q,E |
| Xray mode | alt + Z | |
| Make parent | ⌘ + P | |
| Select children objects | shift + ] | |
| Set 3d cursor | shift + right click | |
| Extrude | E | x,y,z |
| Inset | I | |
| Set snapping/magnet | shift + Tab | |
| Select all | A | |
| Edge context menu | Ctrl + E | |
| Add crease | Shift + E |
How To’s
Rendering
Use Render Engine: Cycles for high def rendering

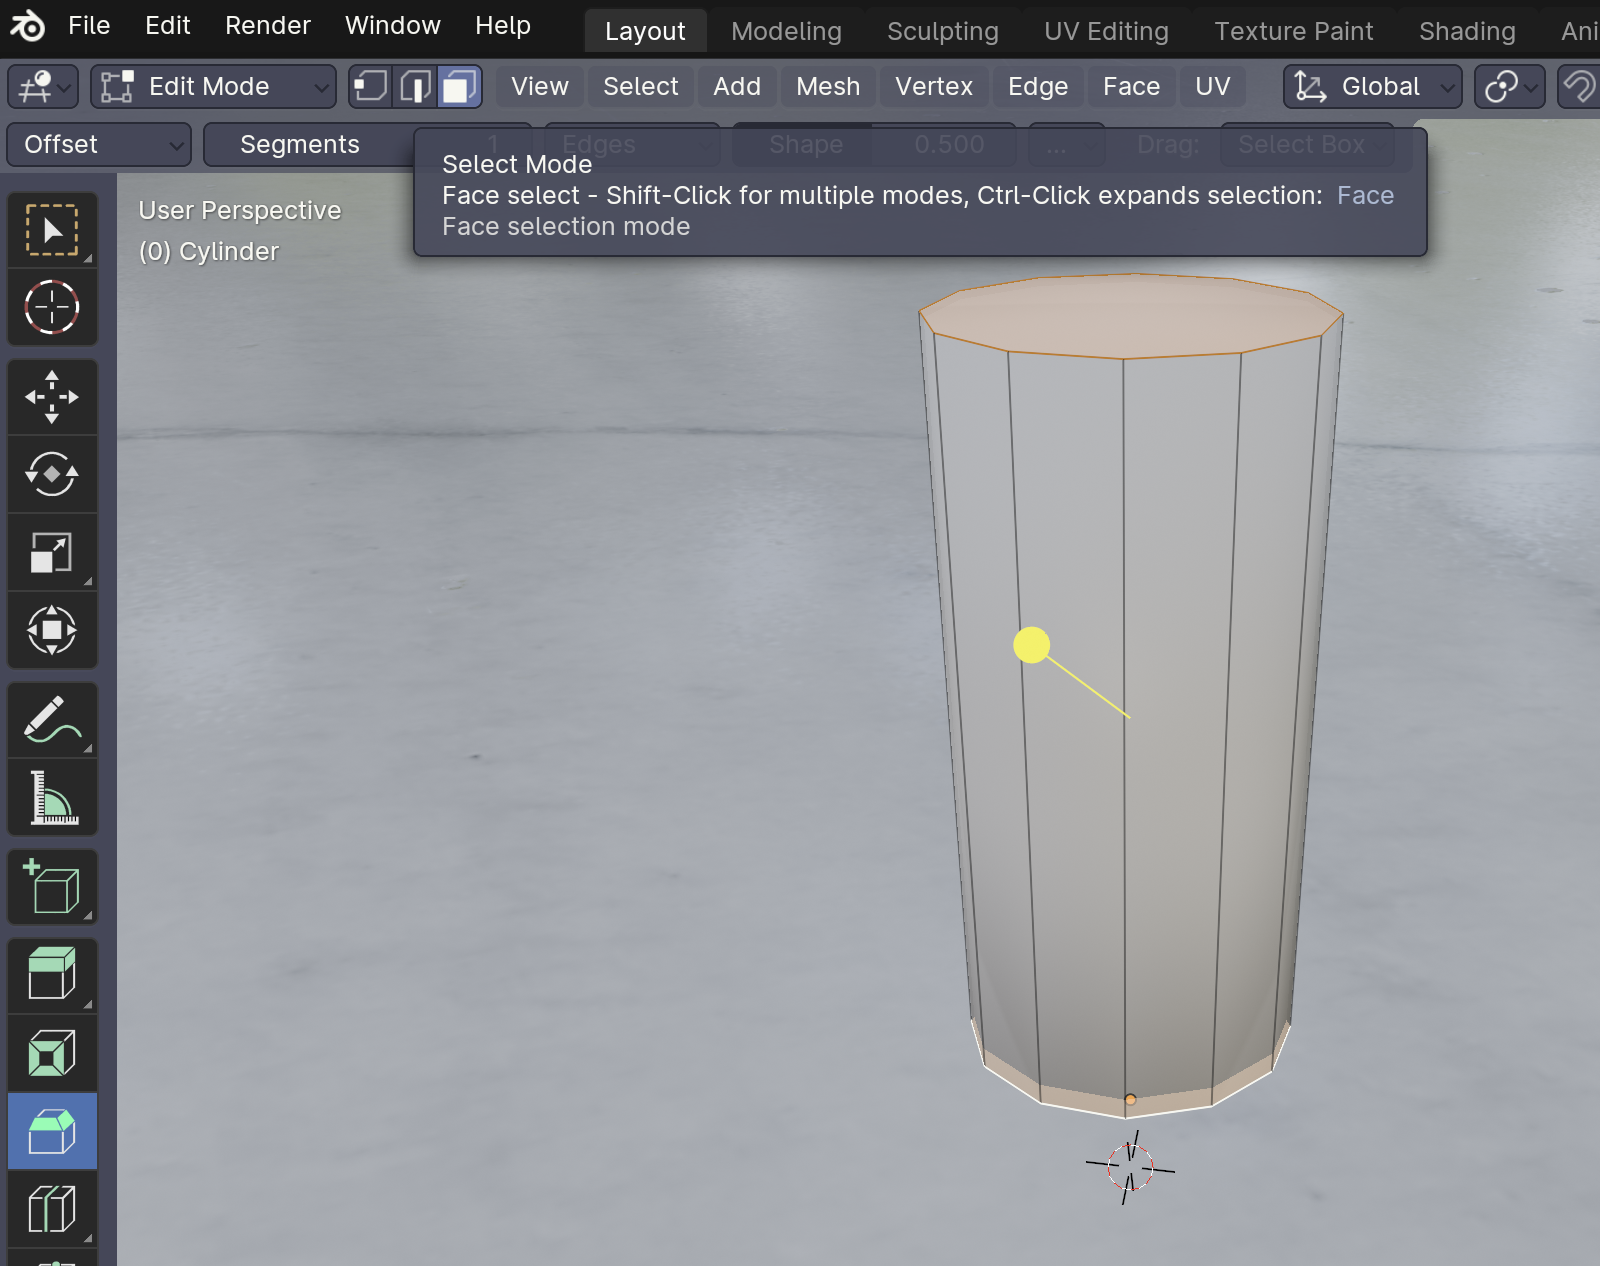
Beveling a Cylinder
- Create cylinder
shift + a - Enter edit mode
tab - Select Mode → Face Selection
- Select top and bottom faces
- Enter Bevel move
⌘ + b - Click and drag to start bevel
- To make the bevel more rounded, adjust the segments value
Making a Wavy Cylinder
| Step | Operation | Image |
|---|---|---|
| 1 | Select object, then create a Loop Cut | 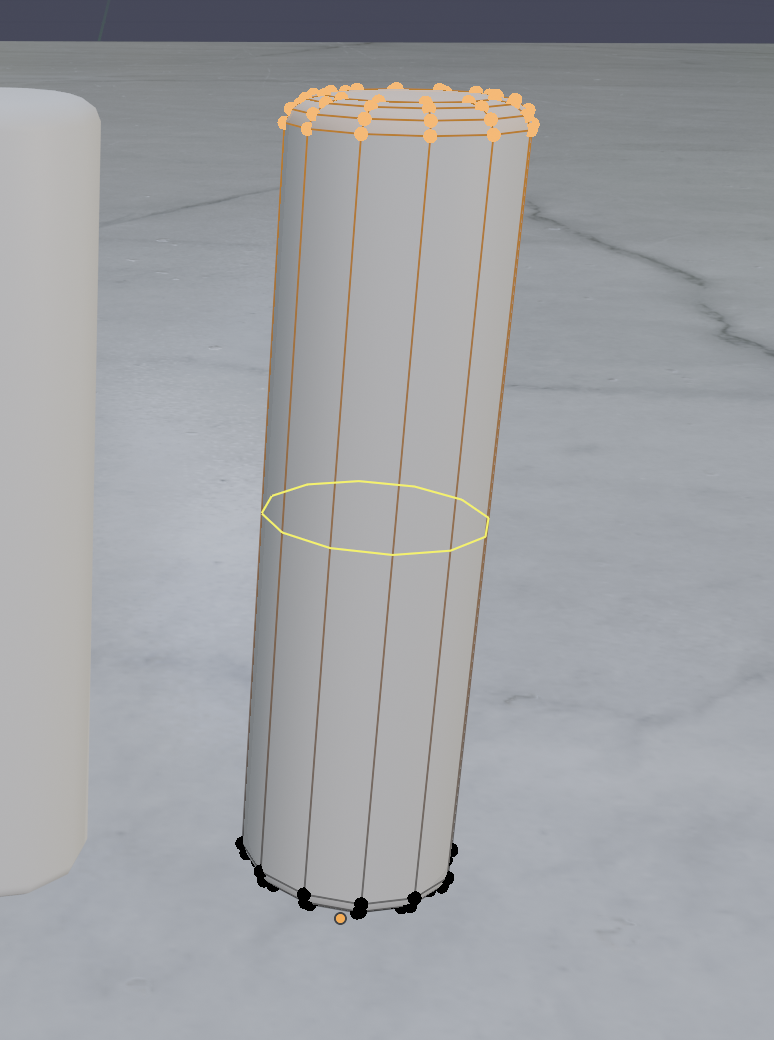 |
| 2 | Scroll up to increase loops so that the faces turn into squares | 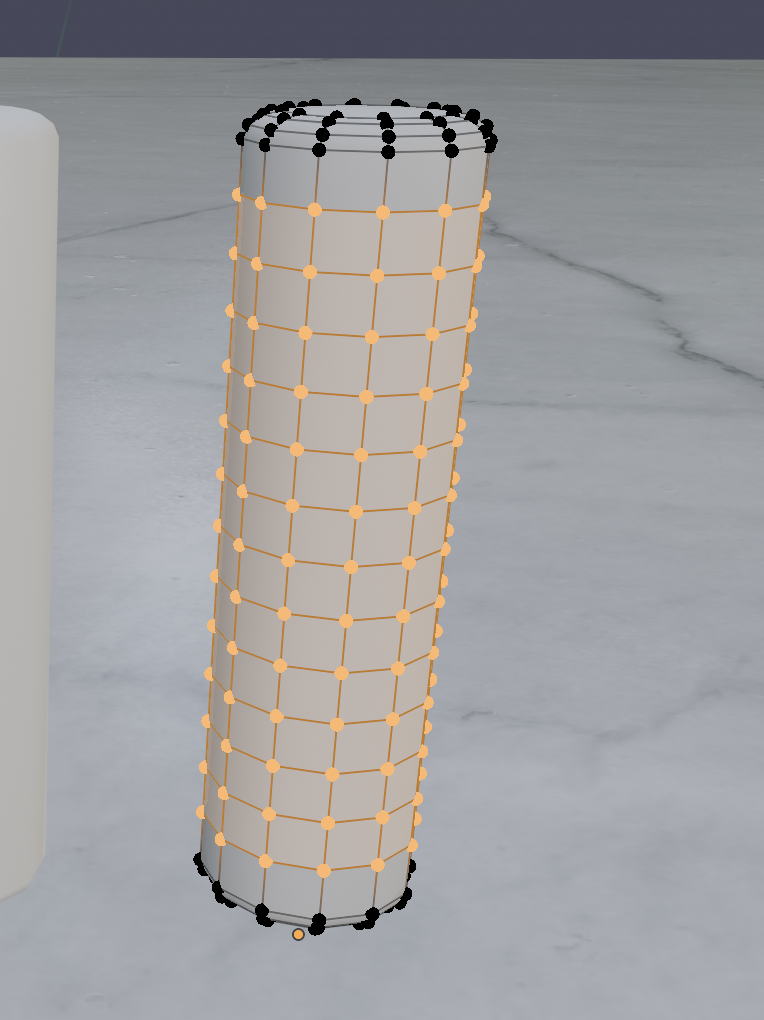 |
| 3 | Add Simple Deform modifier |  |
| 4 | Change to Bend | 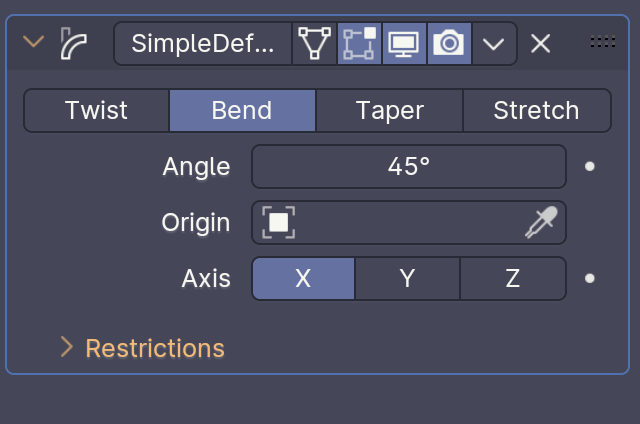 |
| 5 | Right click, set Origin to Geometry | 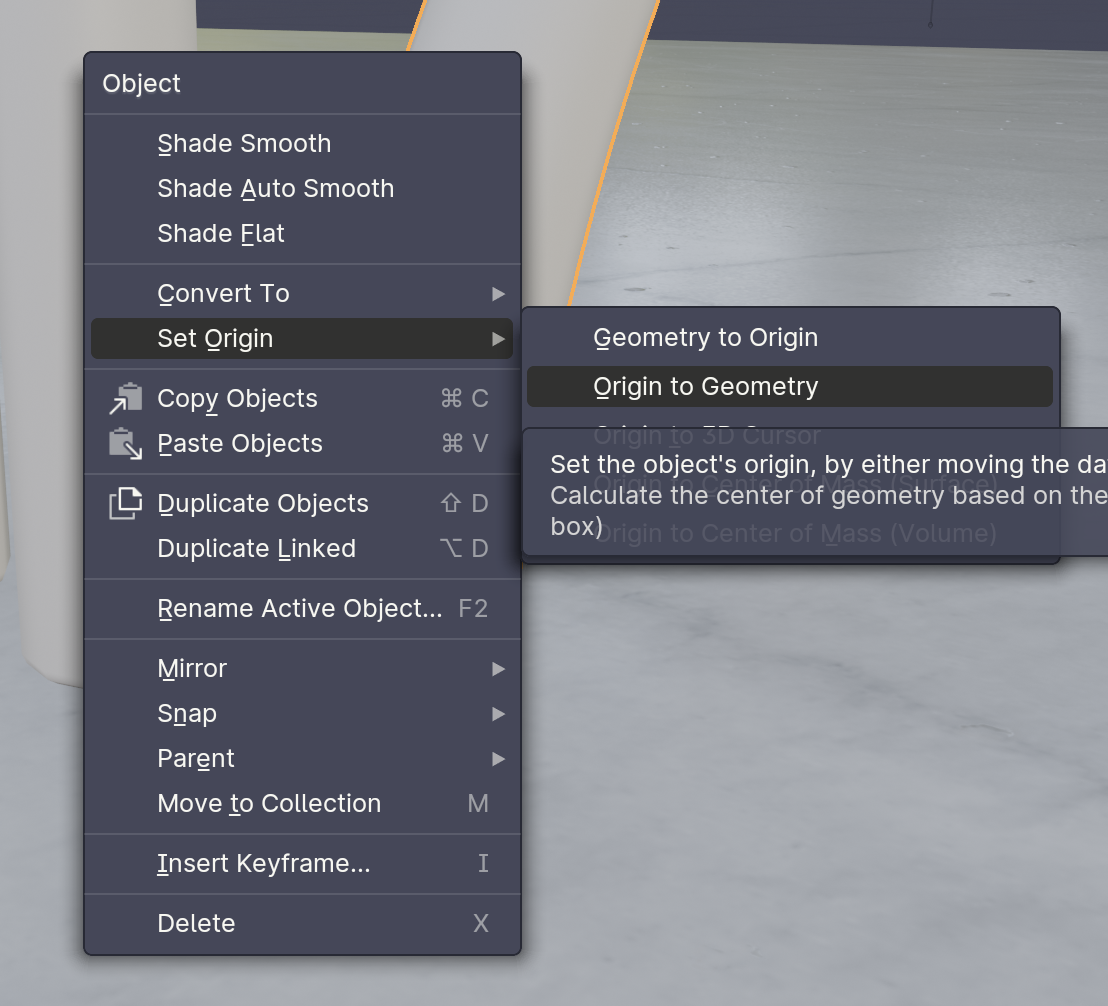 |
| 6 | Apply modifier | 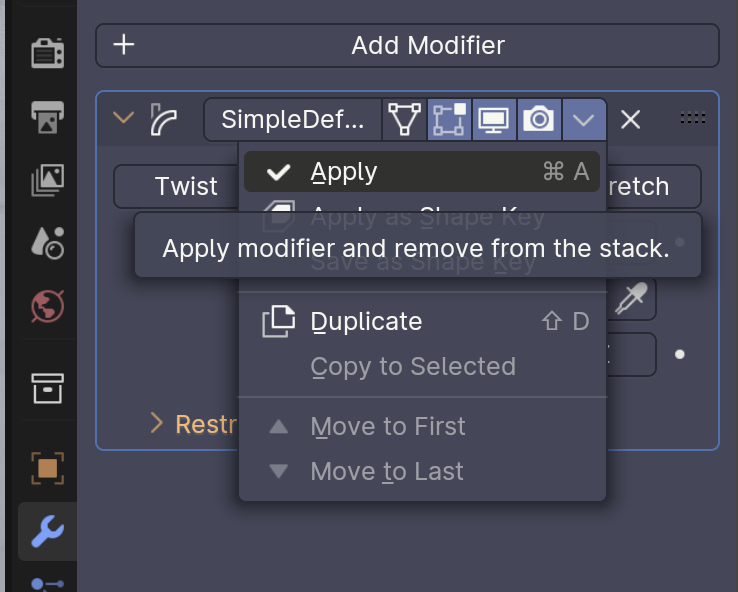 |
| 7 | Done! | 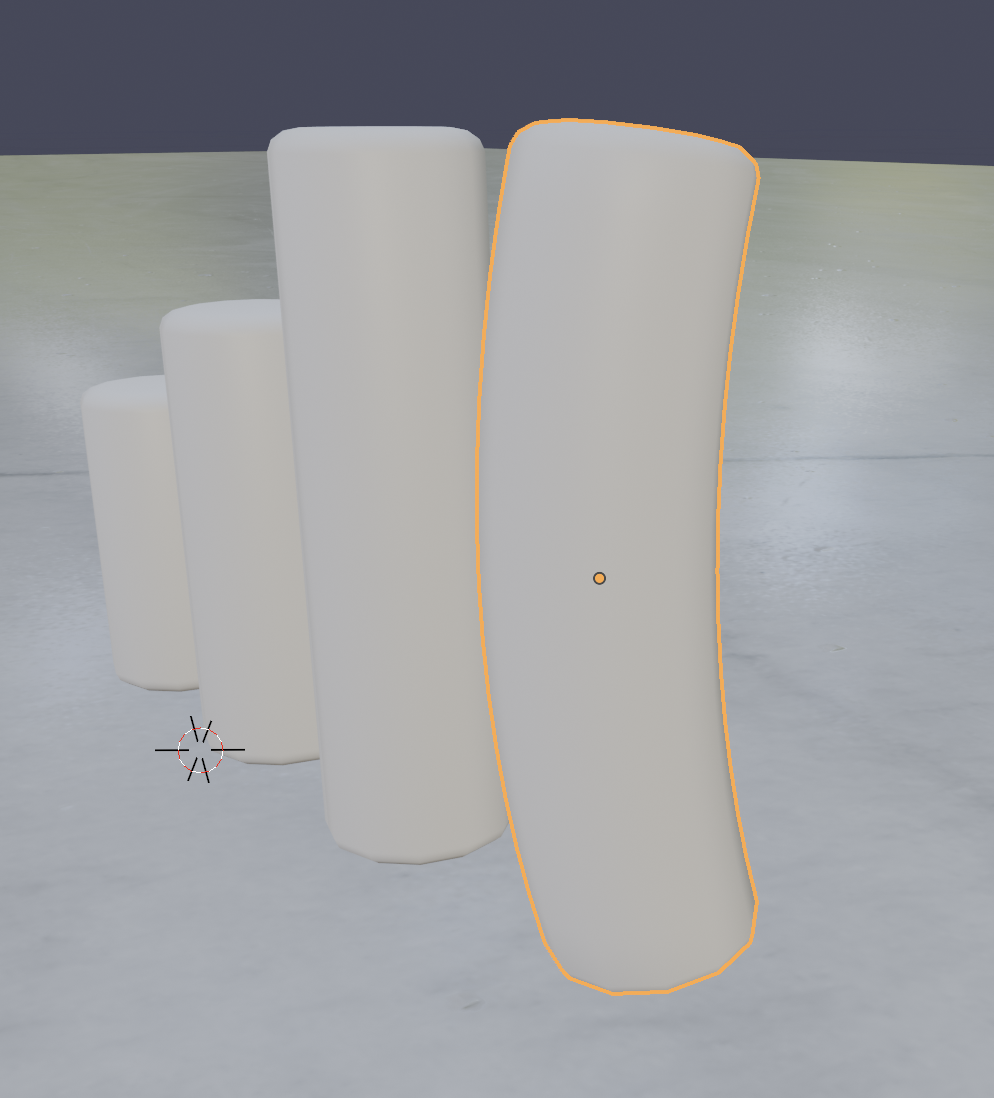 |
Creating a Wall and Floor
| Step | Operation | Image |
|---|---|---|
| 1 | Select top and 2 side faces | 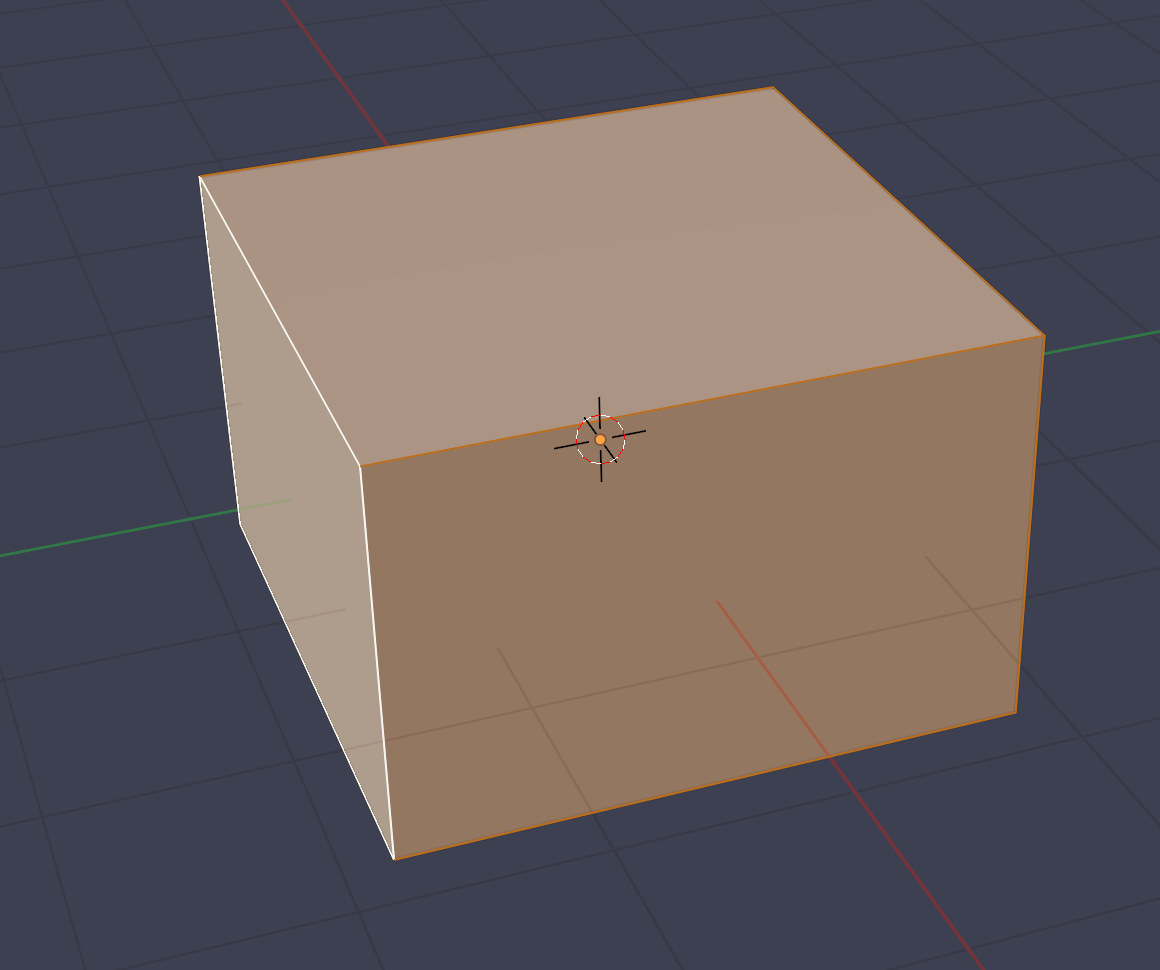 |
| 2 | Delete faces |  |
| 3 | Select floor then press P to seperate it | 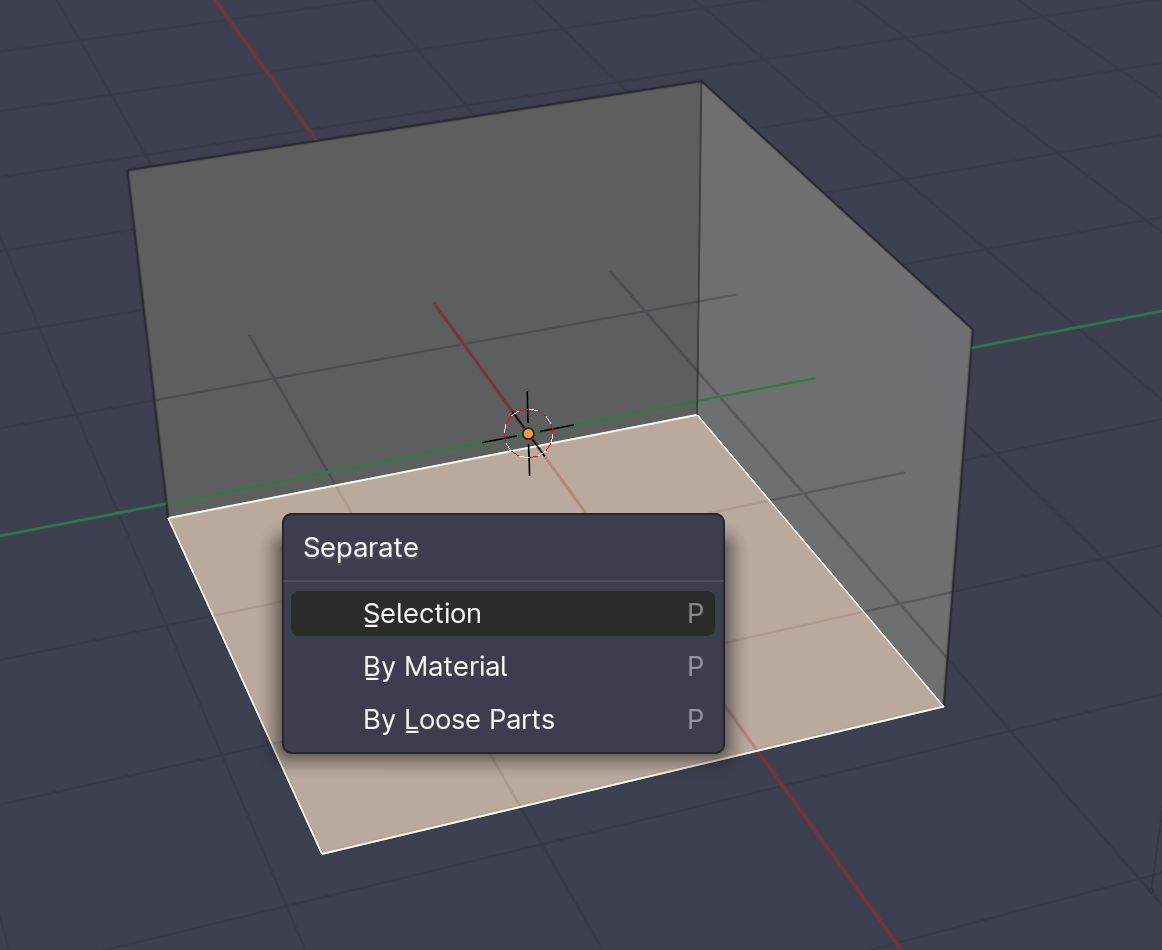 |
| 4 | Select walls then add Modifier → Solidify | 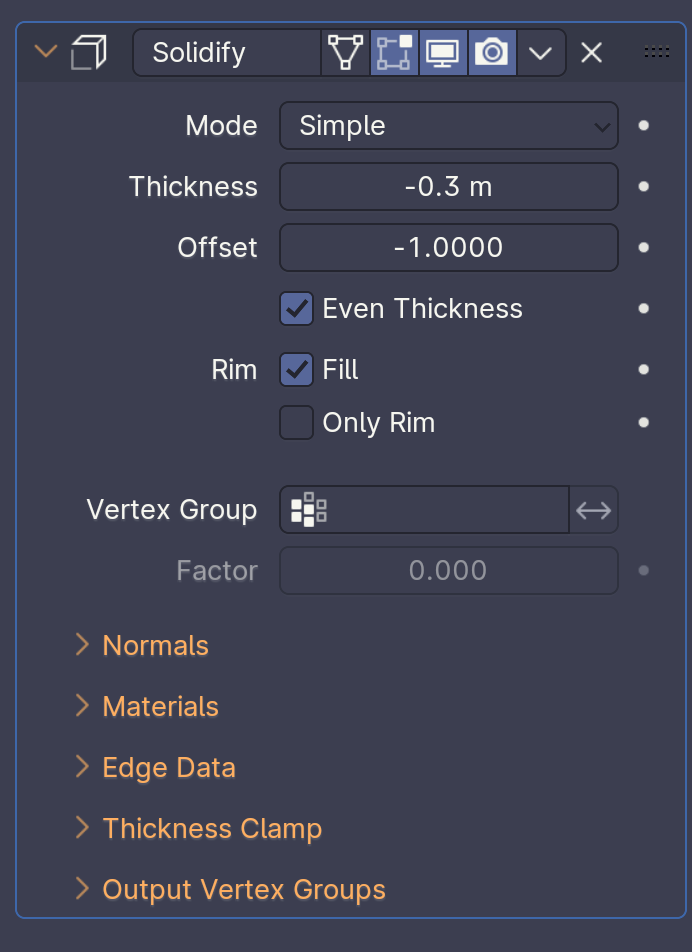 |
| 5 | Select floor object, then shift click on wall to select. Copy the modifier settings with Copy to Selected | 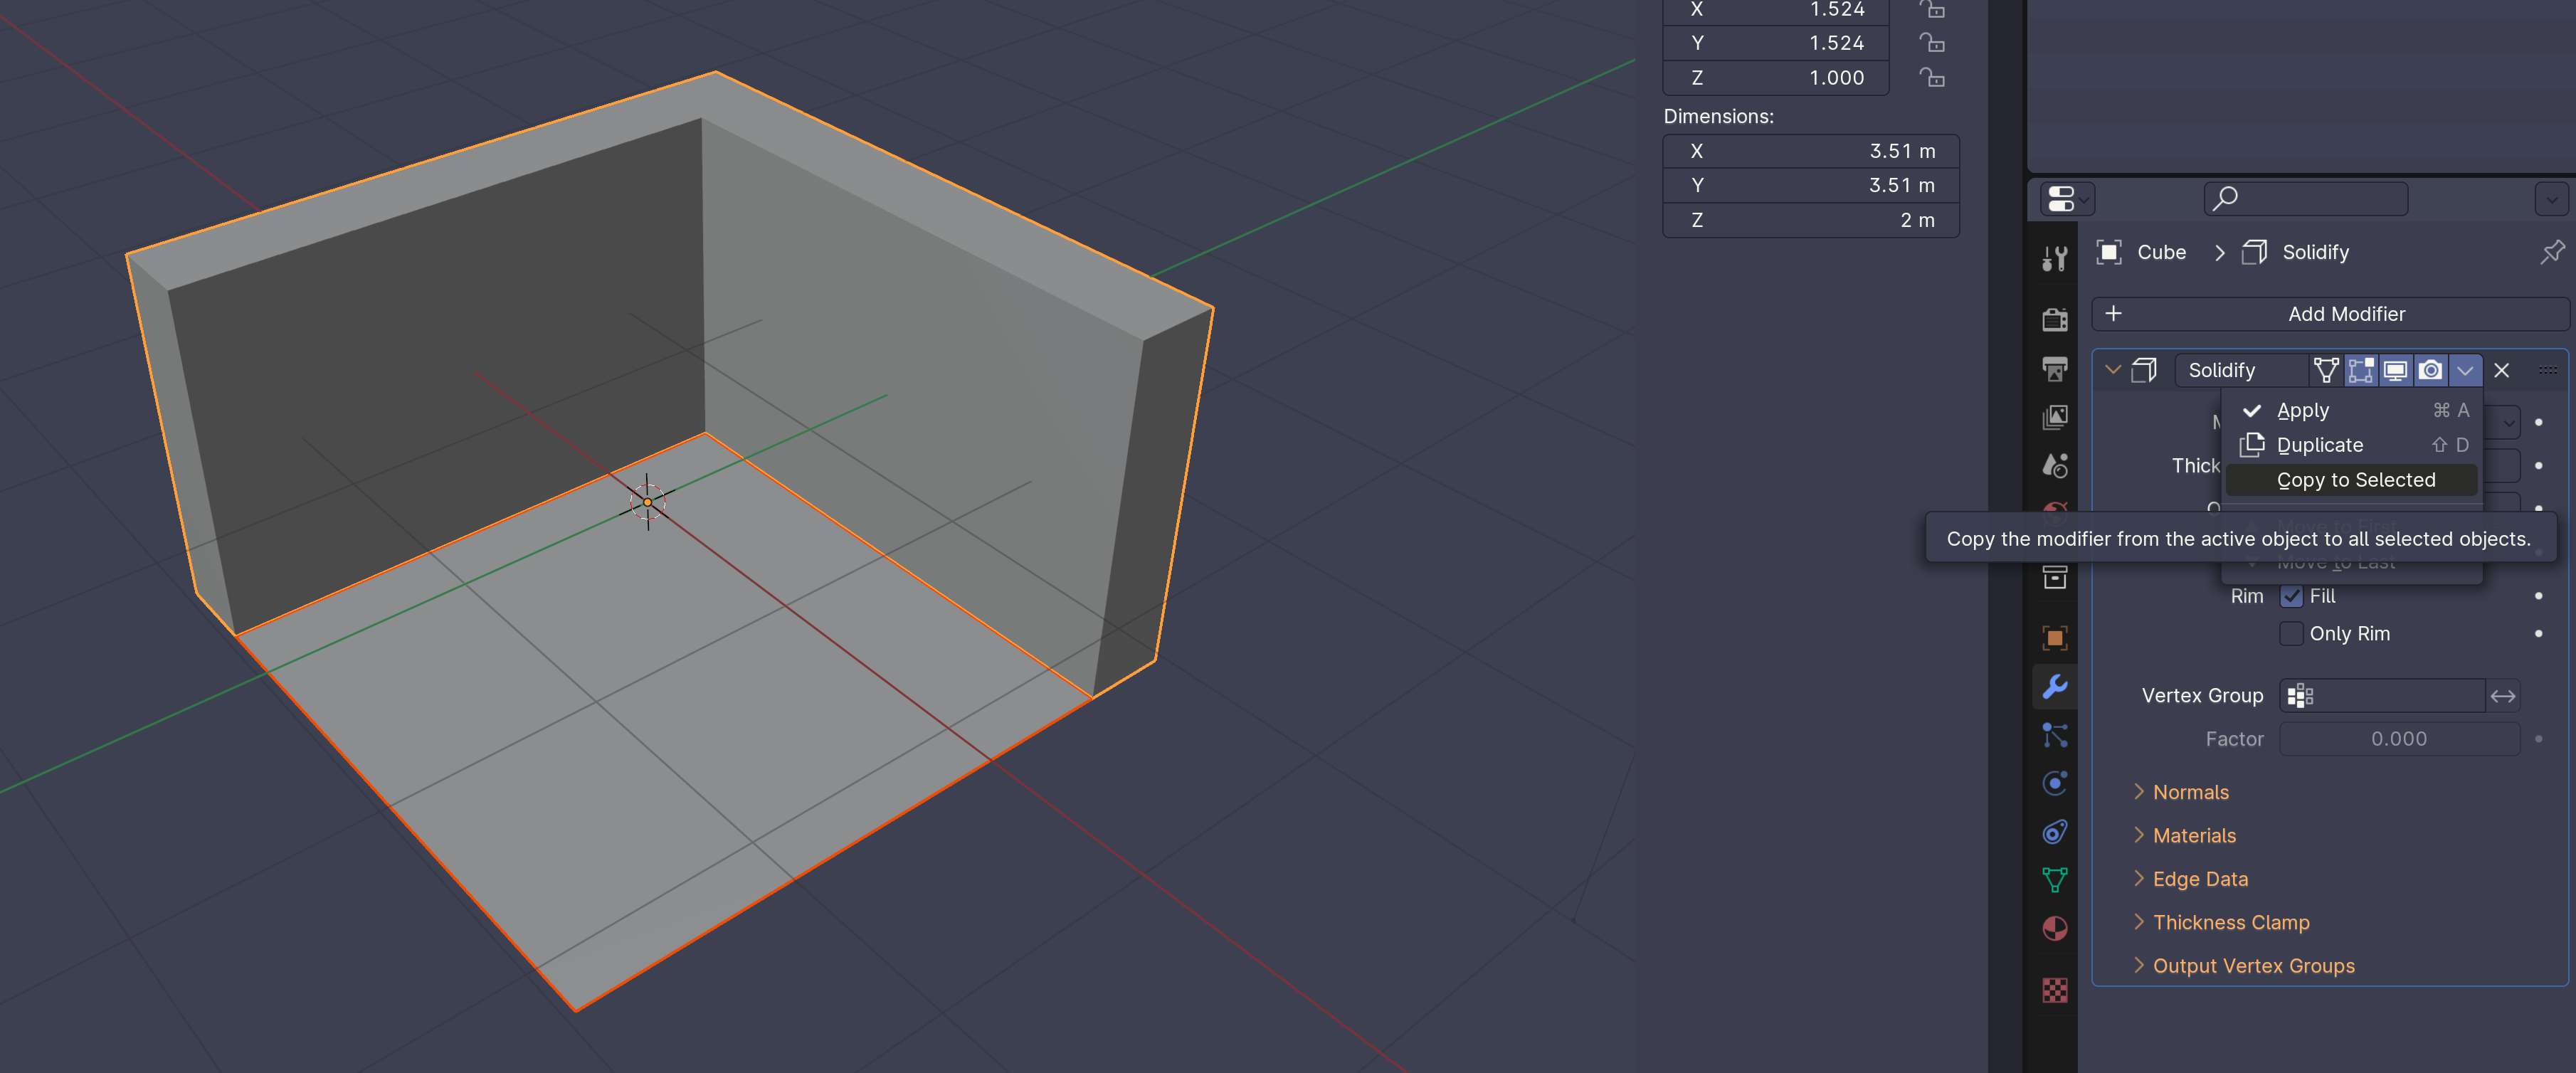 |
| 6 | Apply modifiers to both objects | 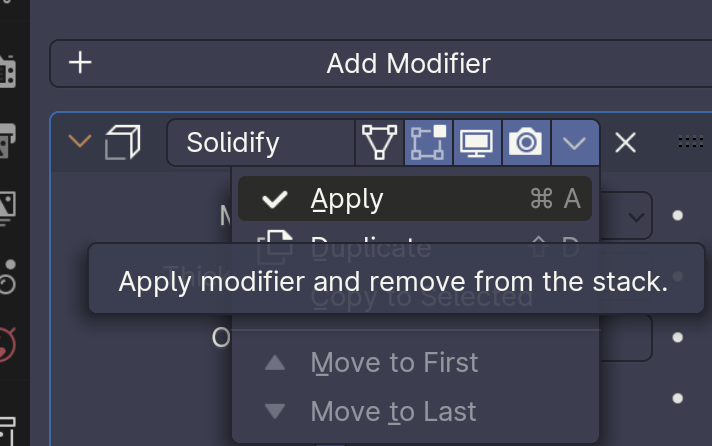 |
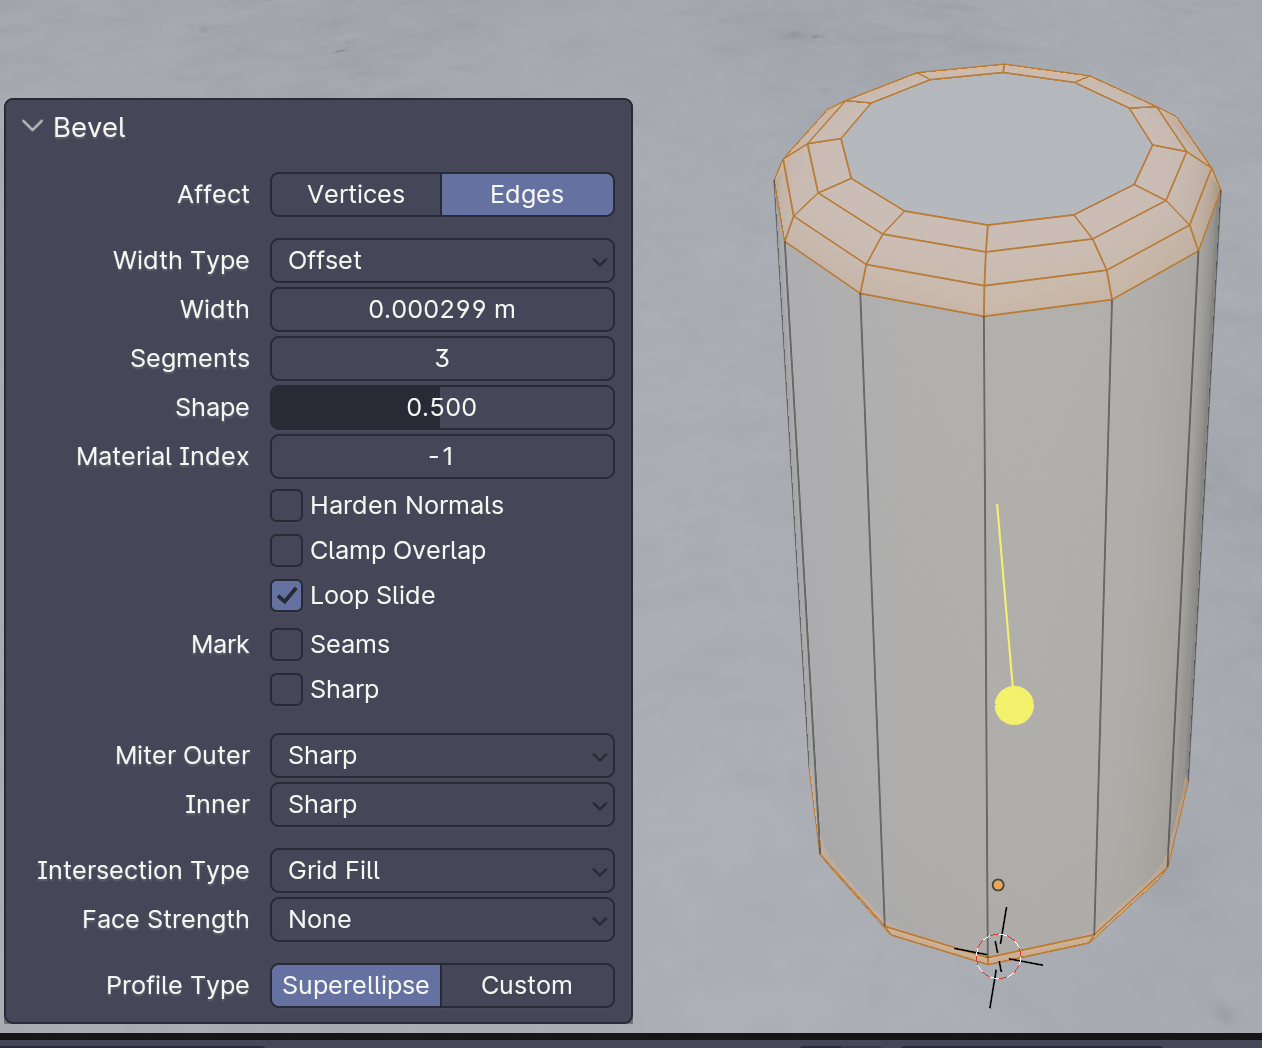
Creating a Rounded Wall or Rectangle
| Step | Operation | Image |
|---|---|---|
| 1 | Select wall, add modifiers with options: Bevel: - Segments: 2 - Limit Method: Weight Subdivision Surface: - Levels Viewport: 2 | 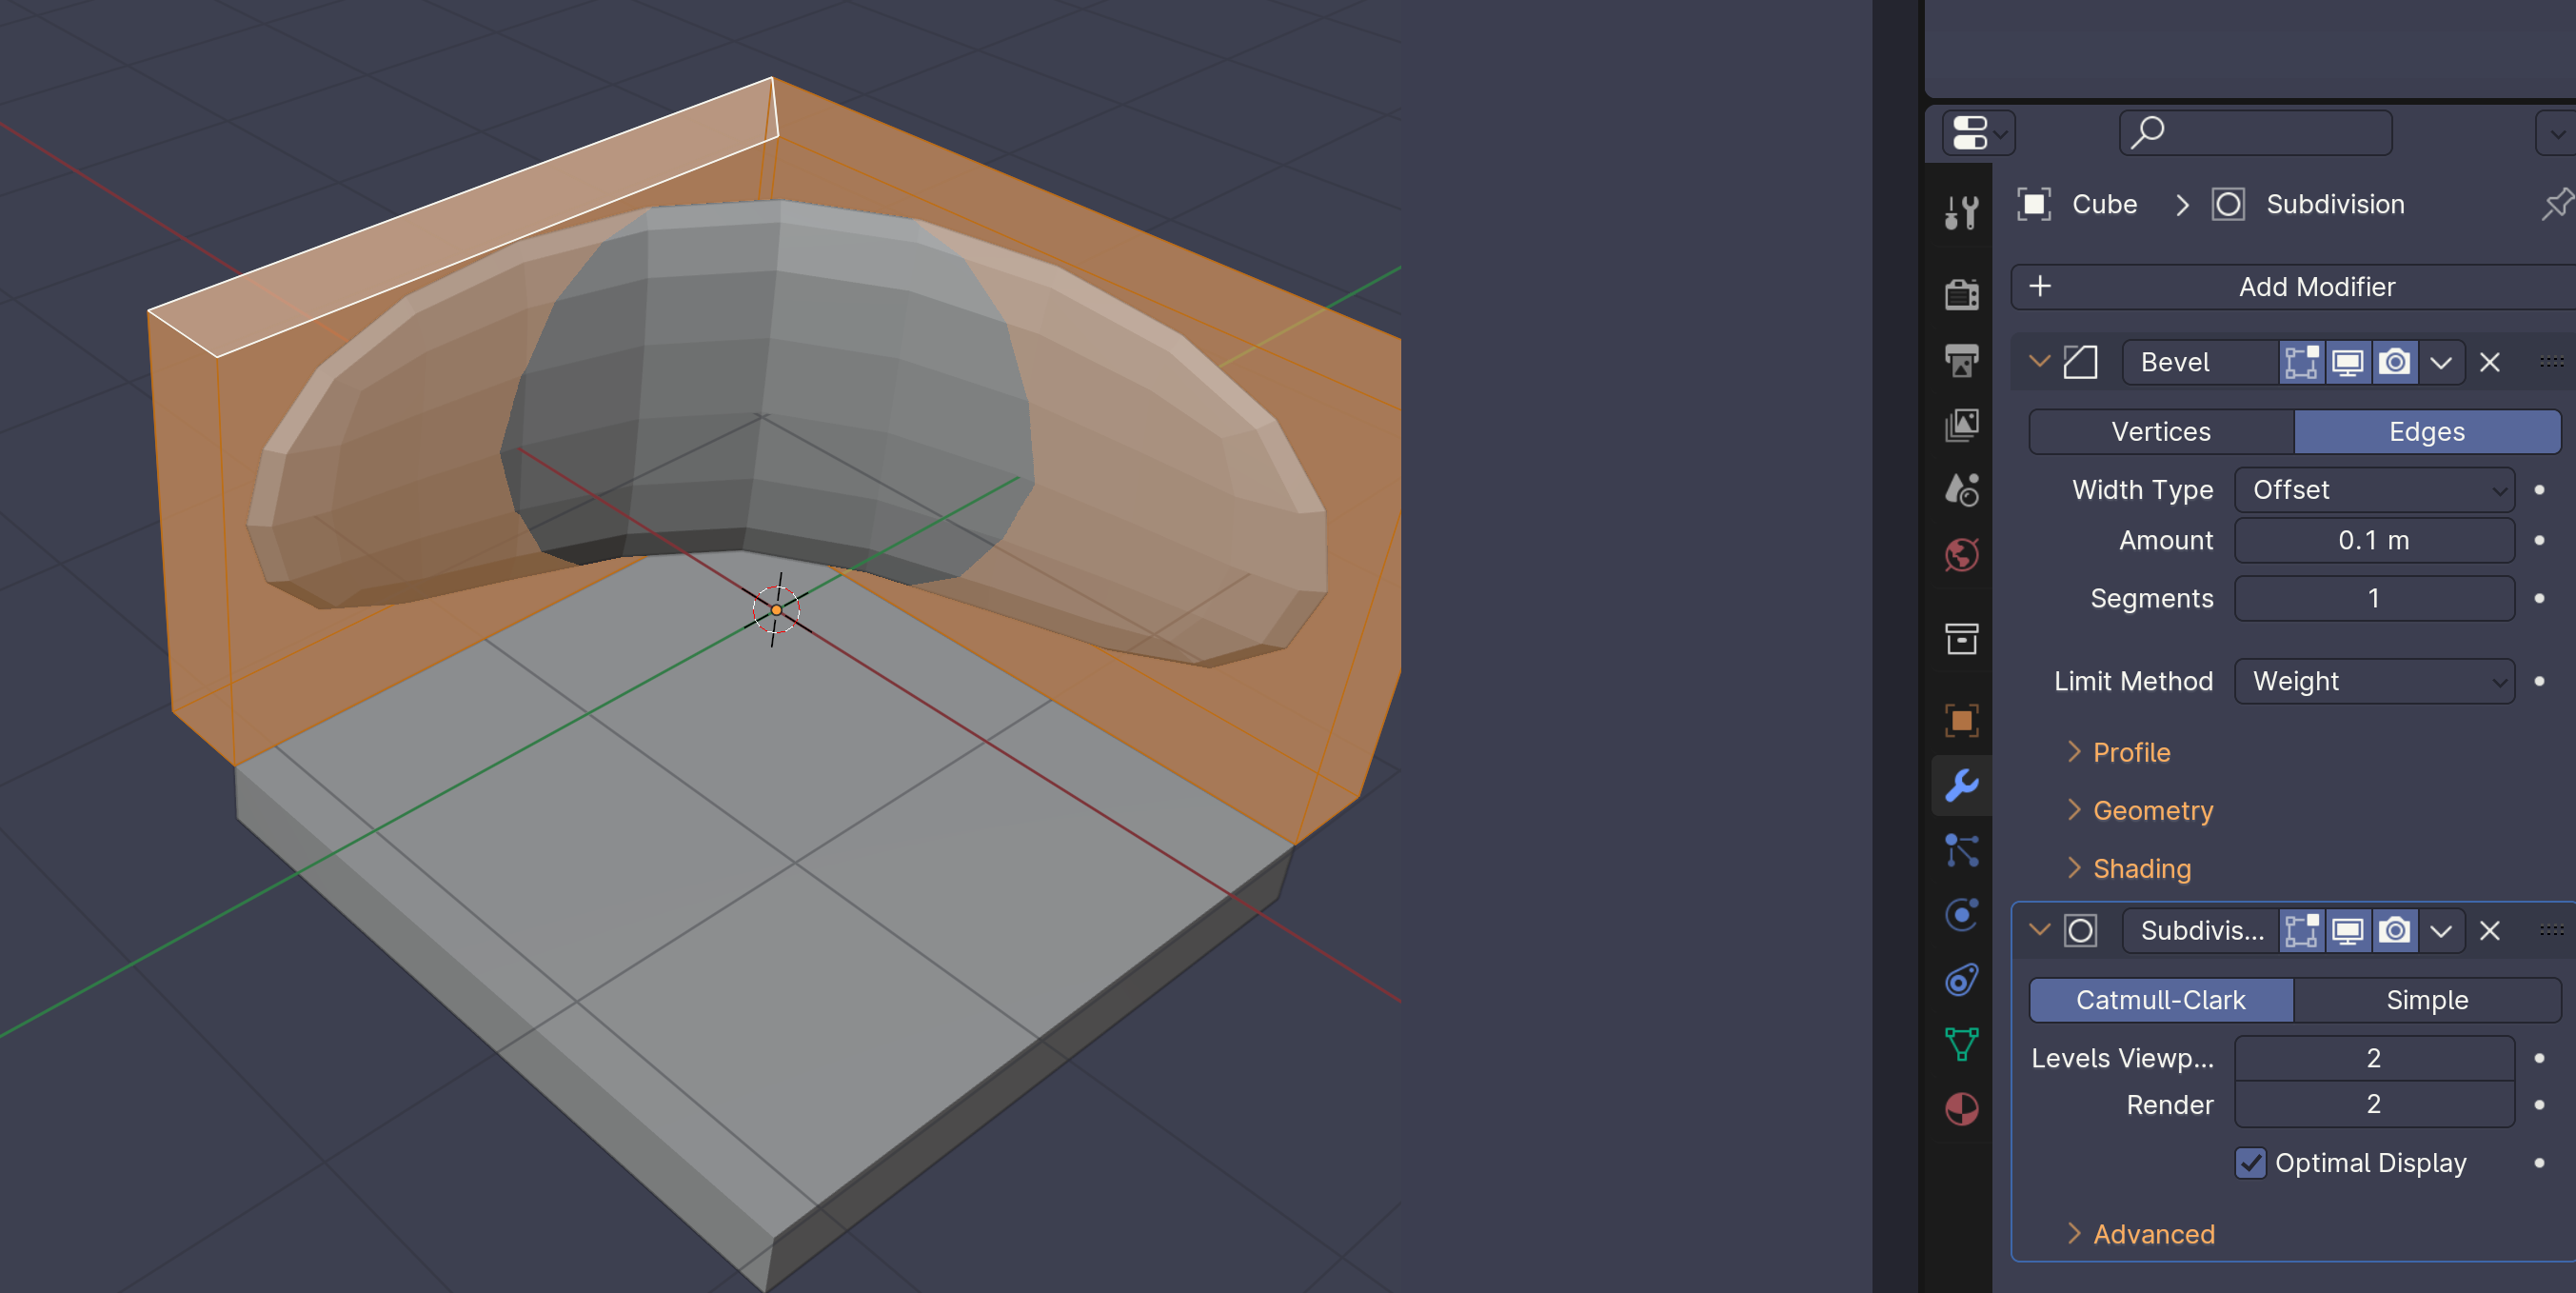 |
| 2 | Enter edit mode tab and select all A. In sidebar (N) slide mean bevel weight in edges data all the way up. | 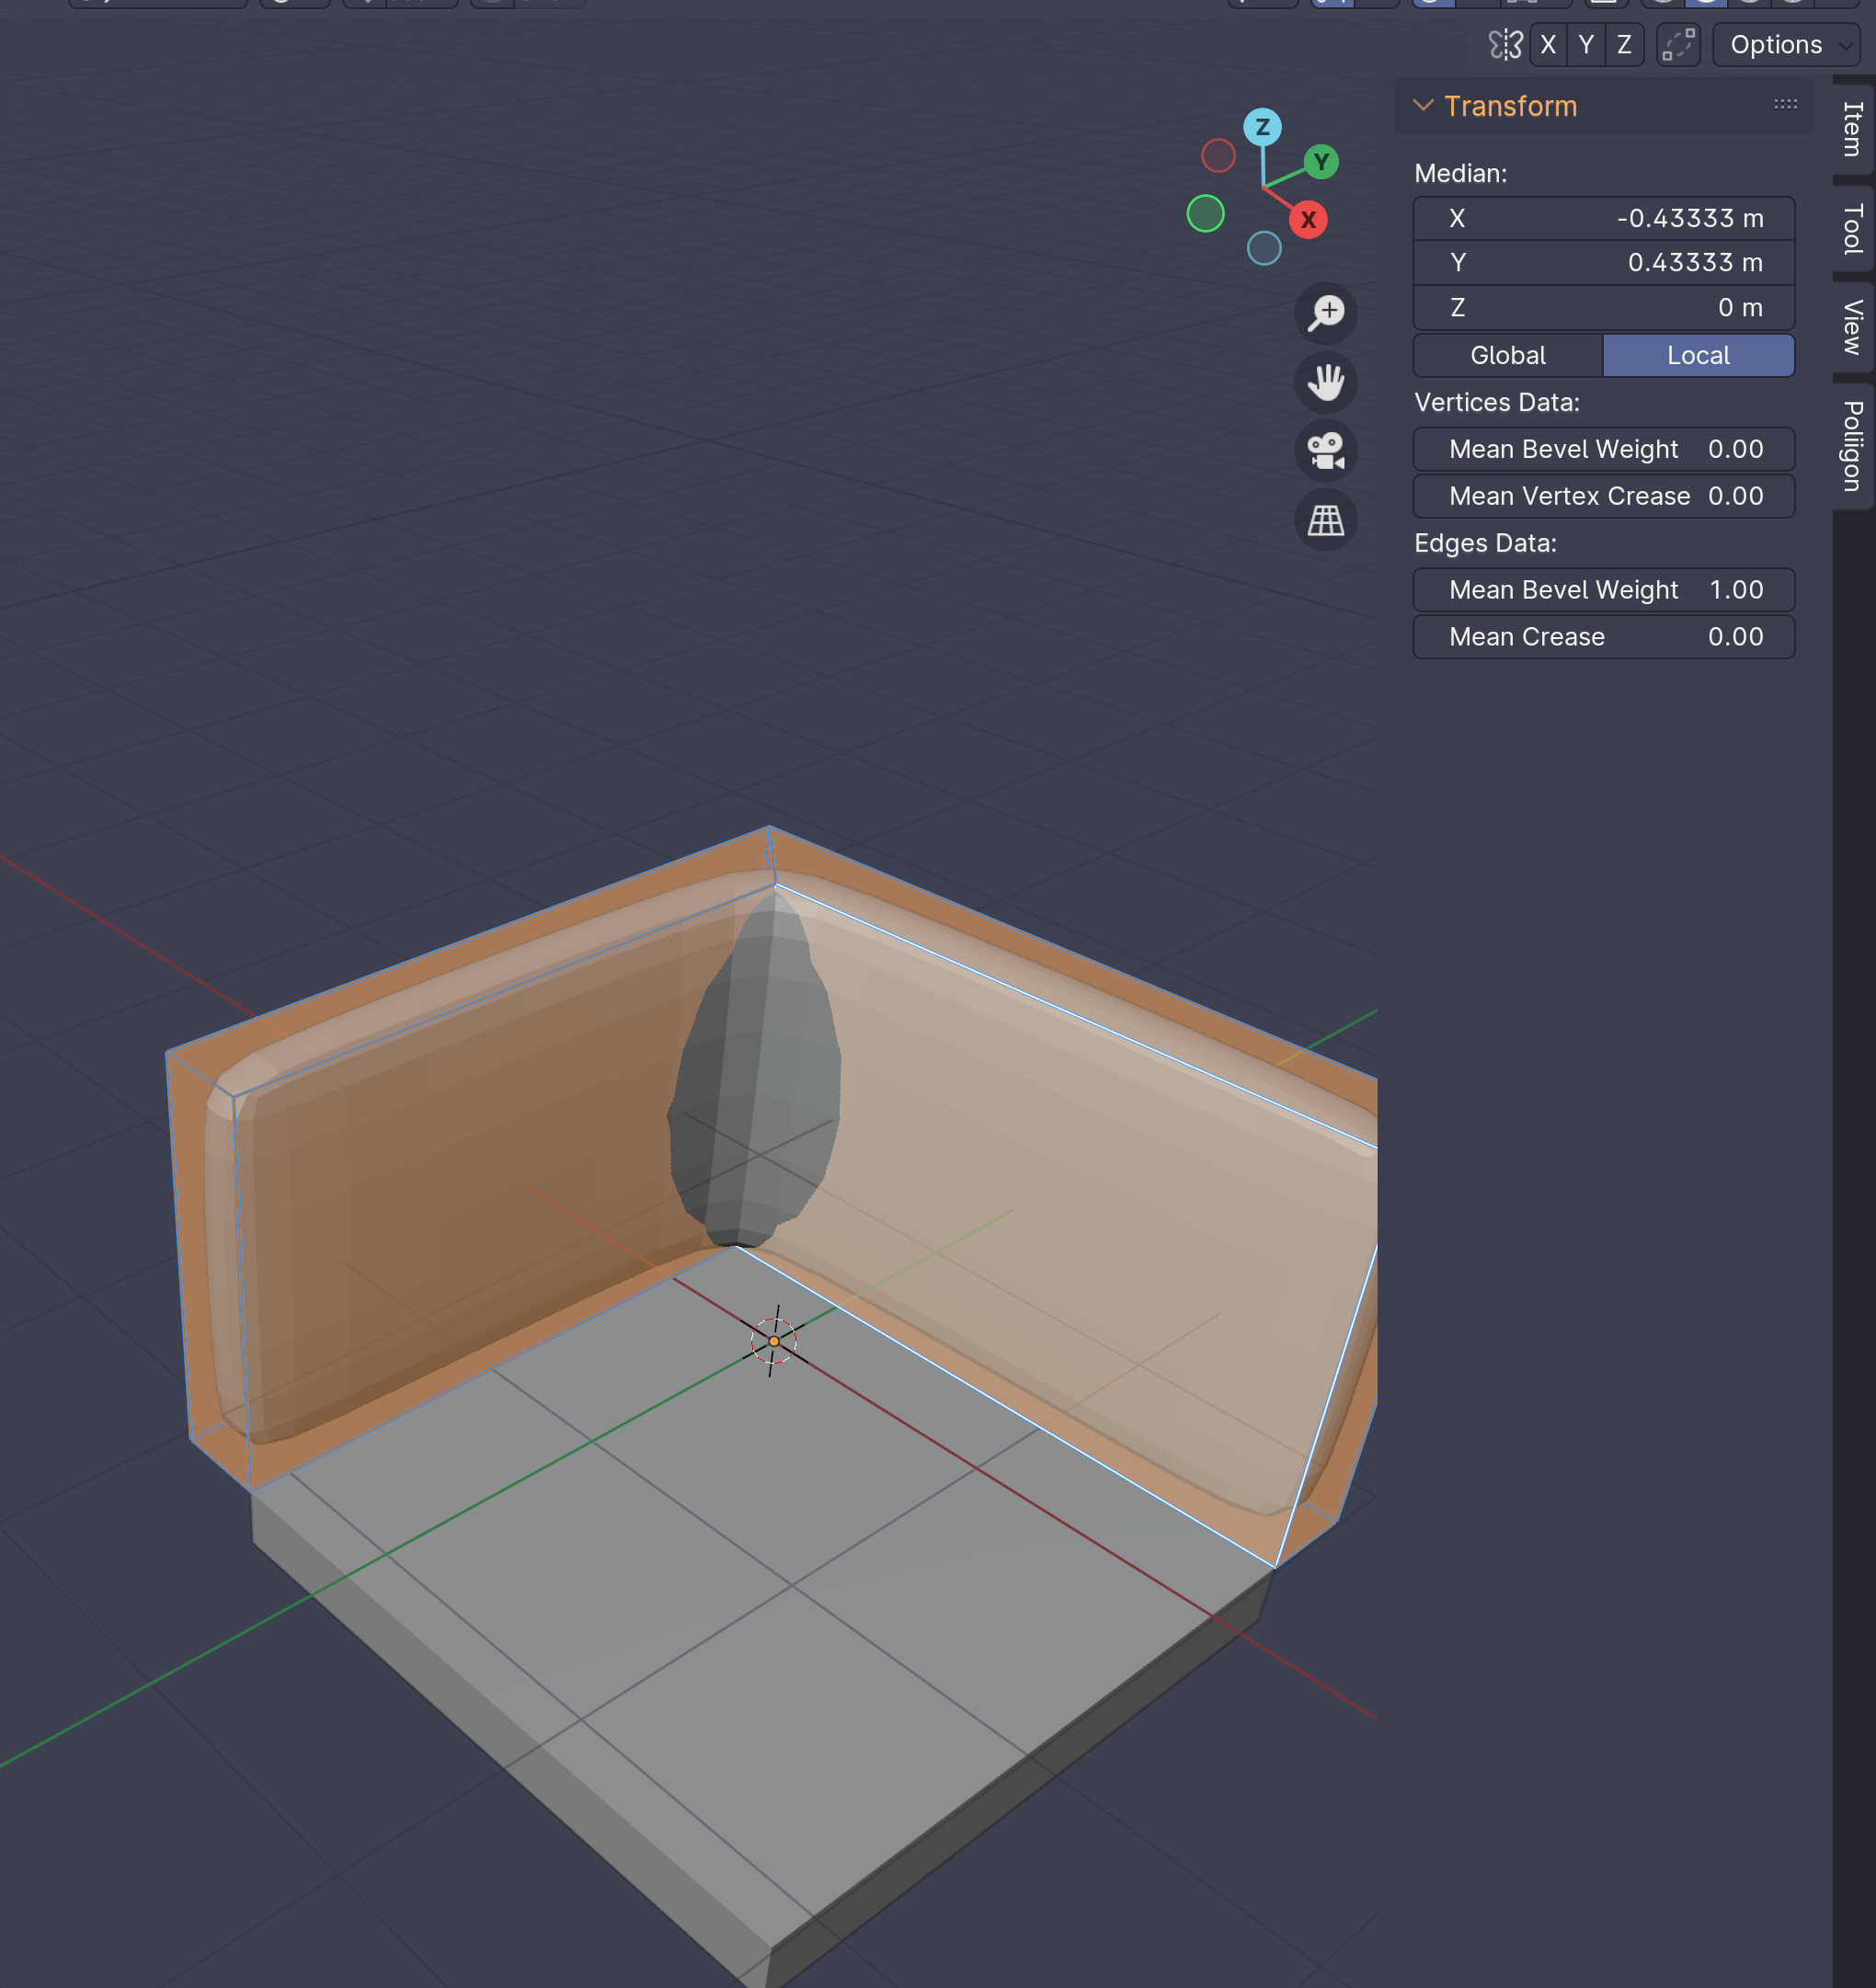 |
| 3 | Under Profile in Bevel Modifier, slide Shape up. | 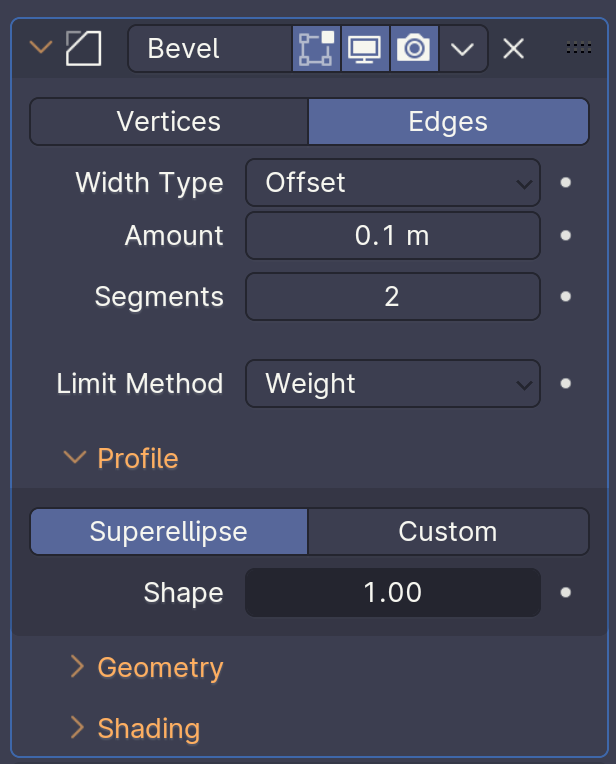 |
| 4 | Increase Bevel (hold shift for small increments) | 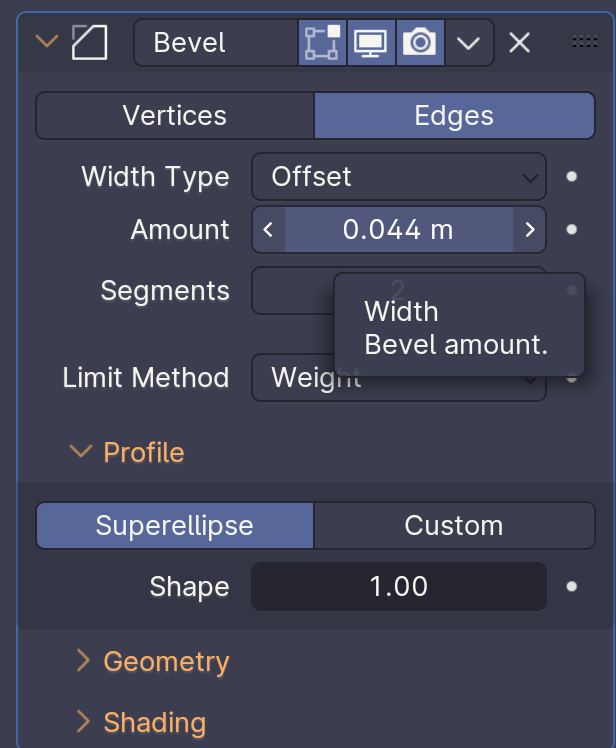 |
Create a Rug or Flat Rounded Rectangle
| Step | Operation | Image |
|---|---|---|
| 1 | Create cube | 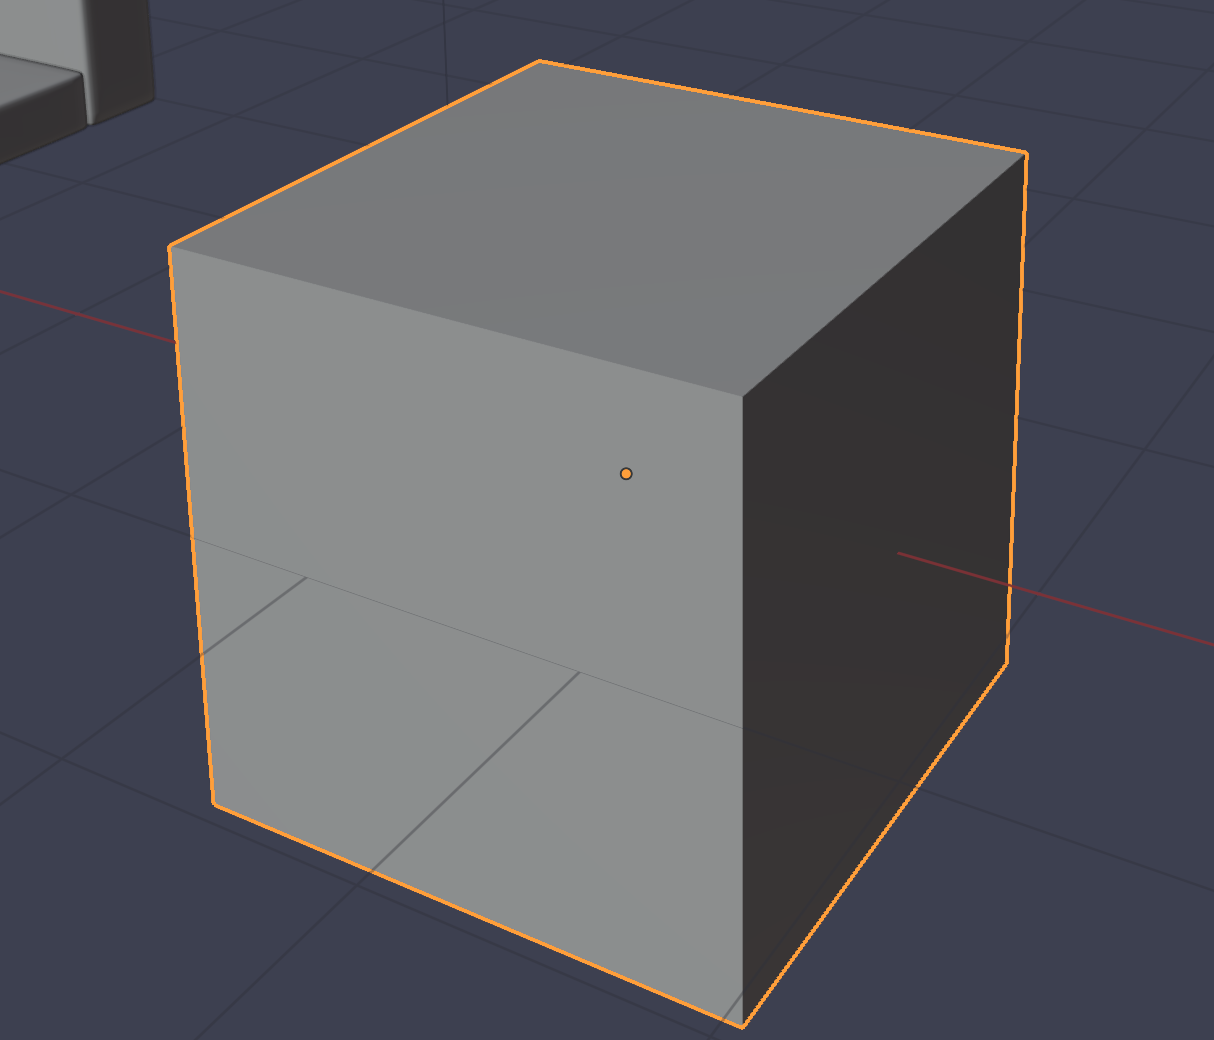 |
| 2 | Adjust dimensions | 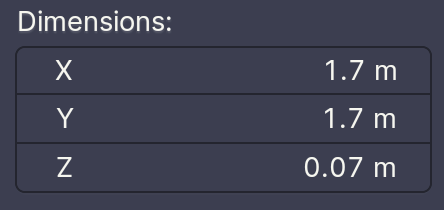 |
| 3 | Add Subdivision modifier | 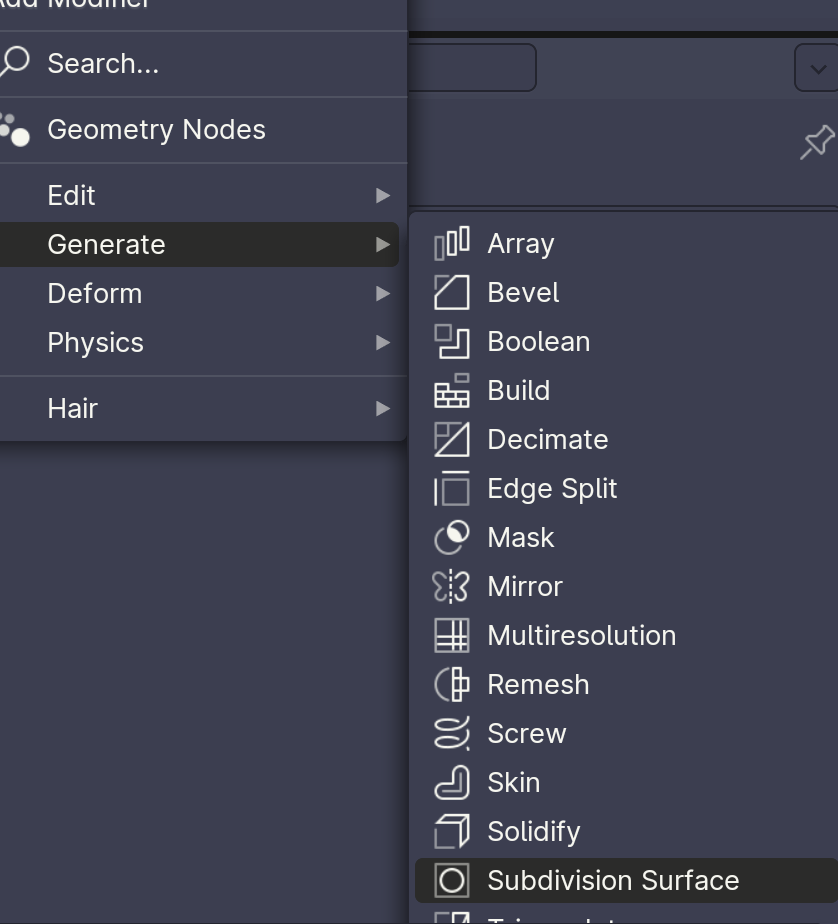 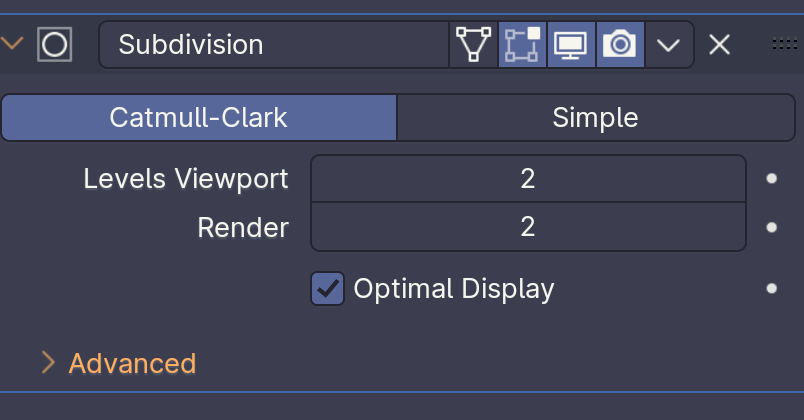 |
| 4 | Edit mode. Add loop cut, canceling movement. | 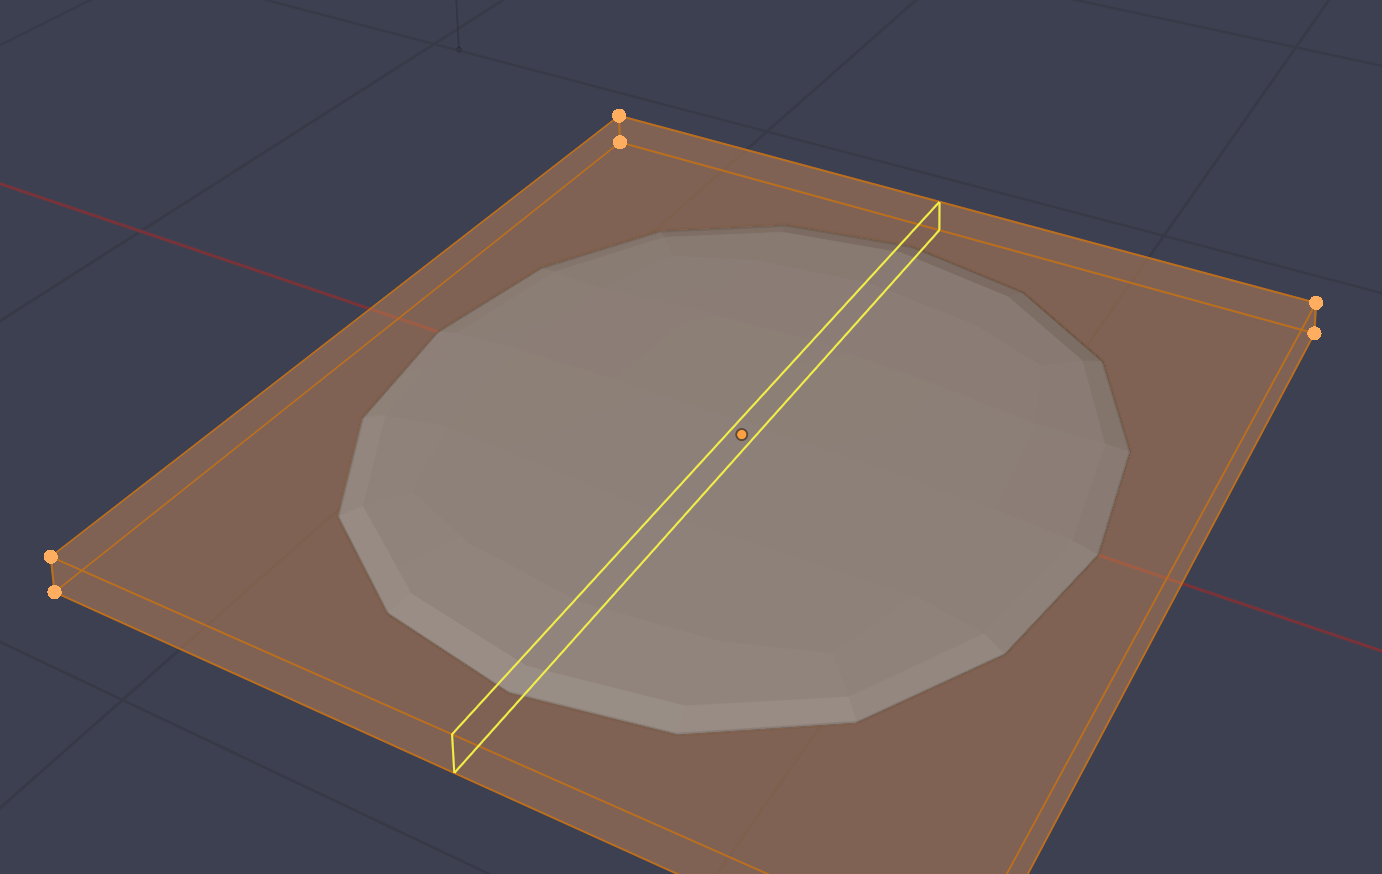 |
| 5 | Bevel the loop cut | 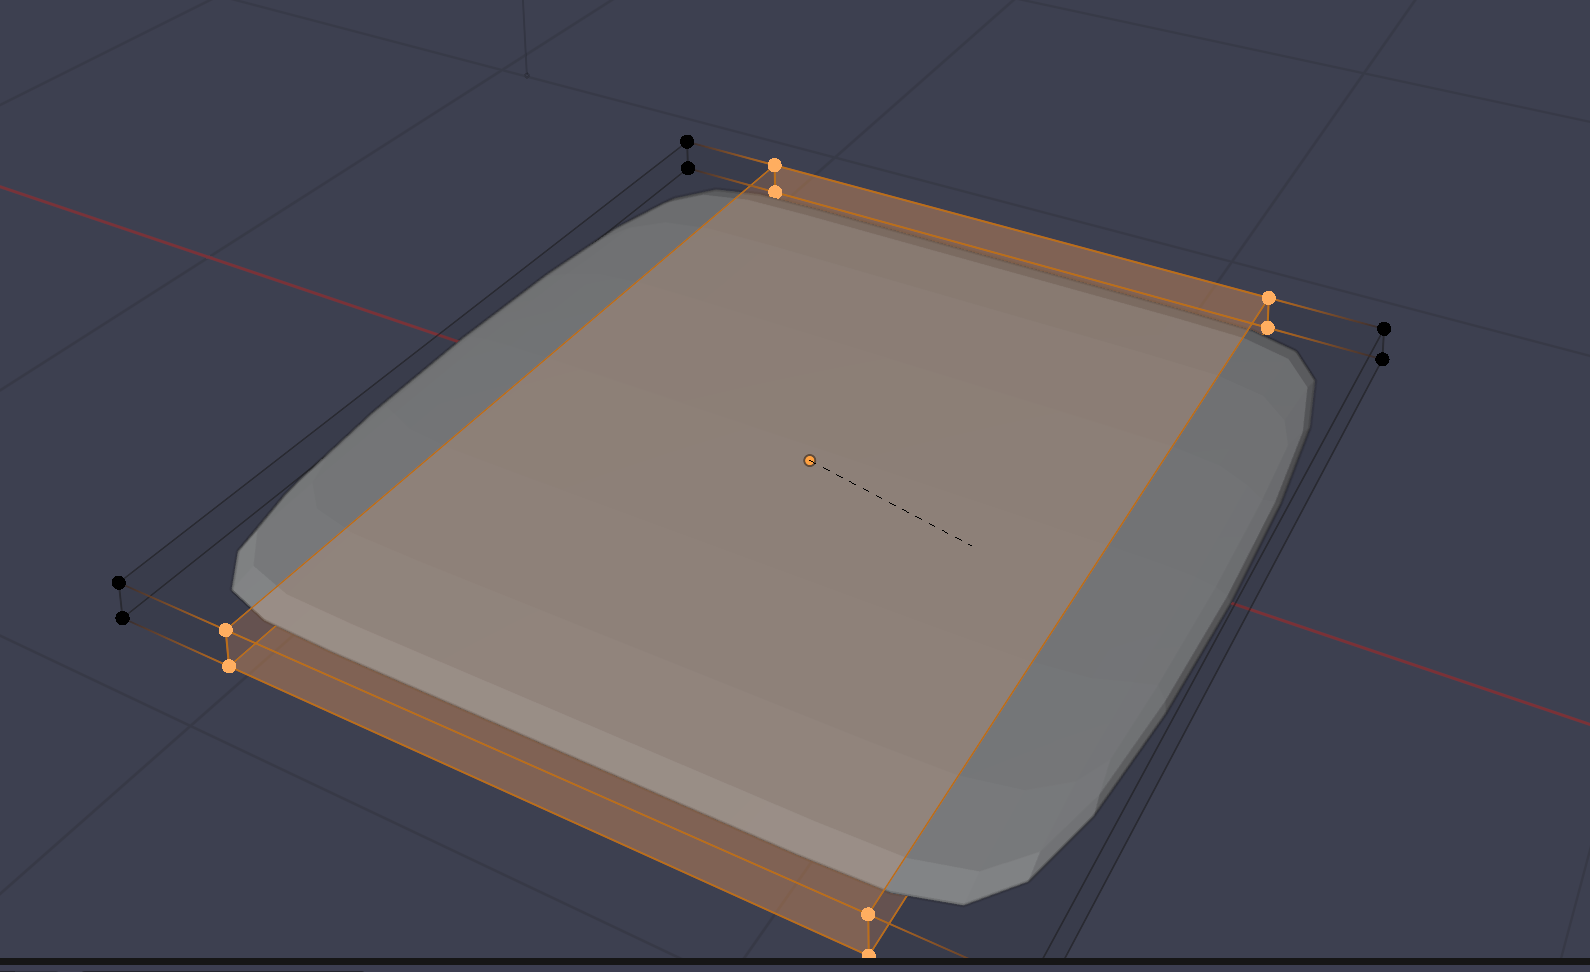 |
| 6 | Repeat on other axis | 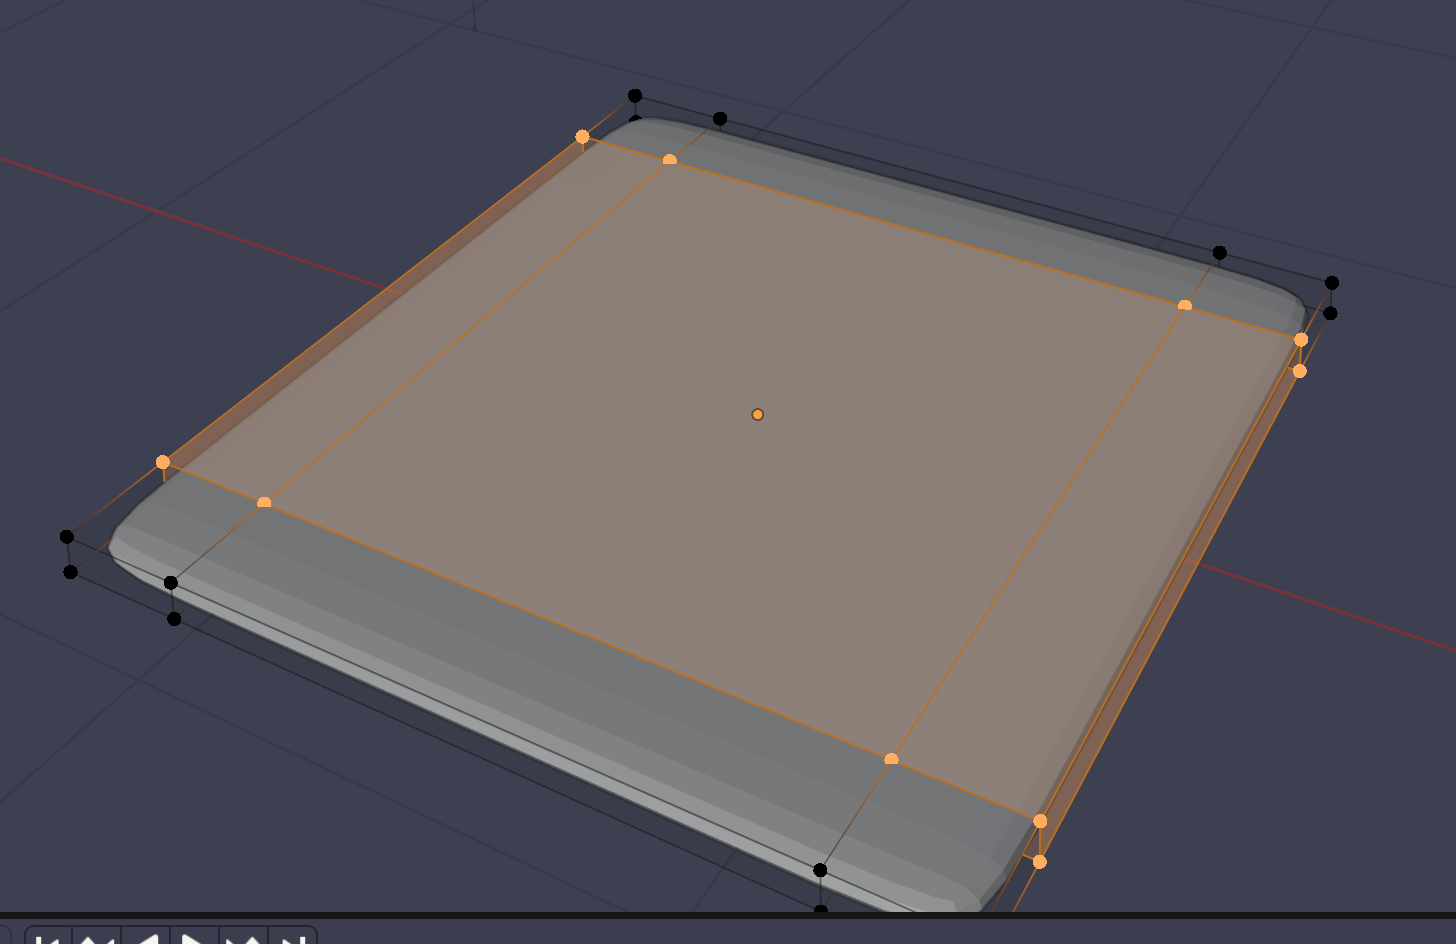 |
| 7 | Add horizontal Loop | 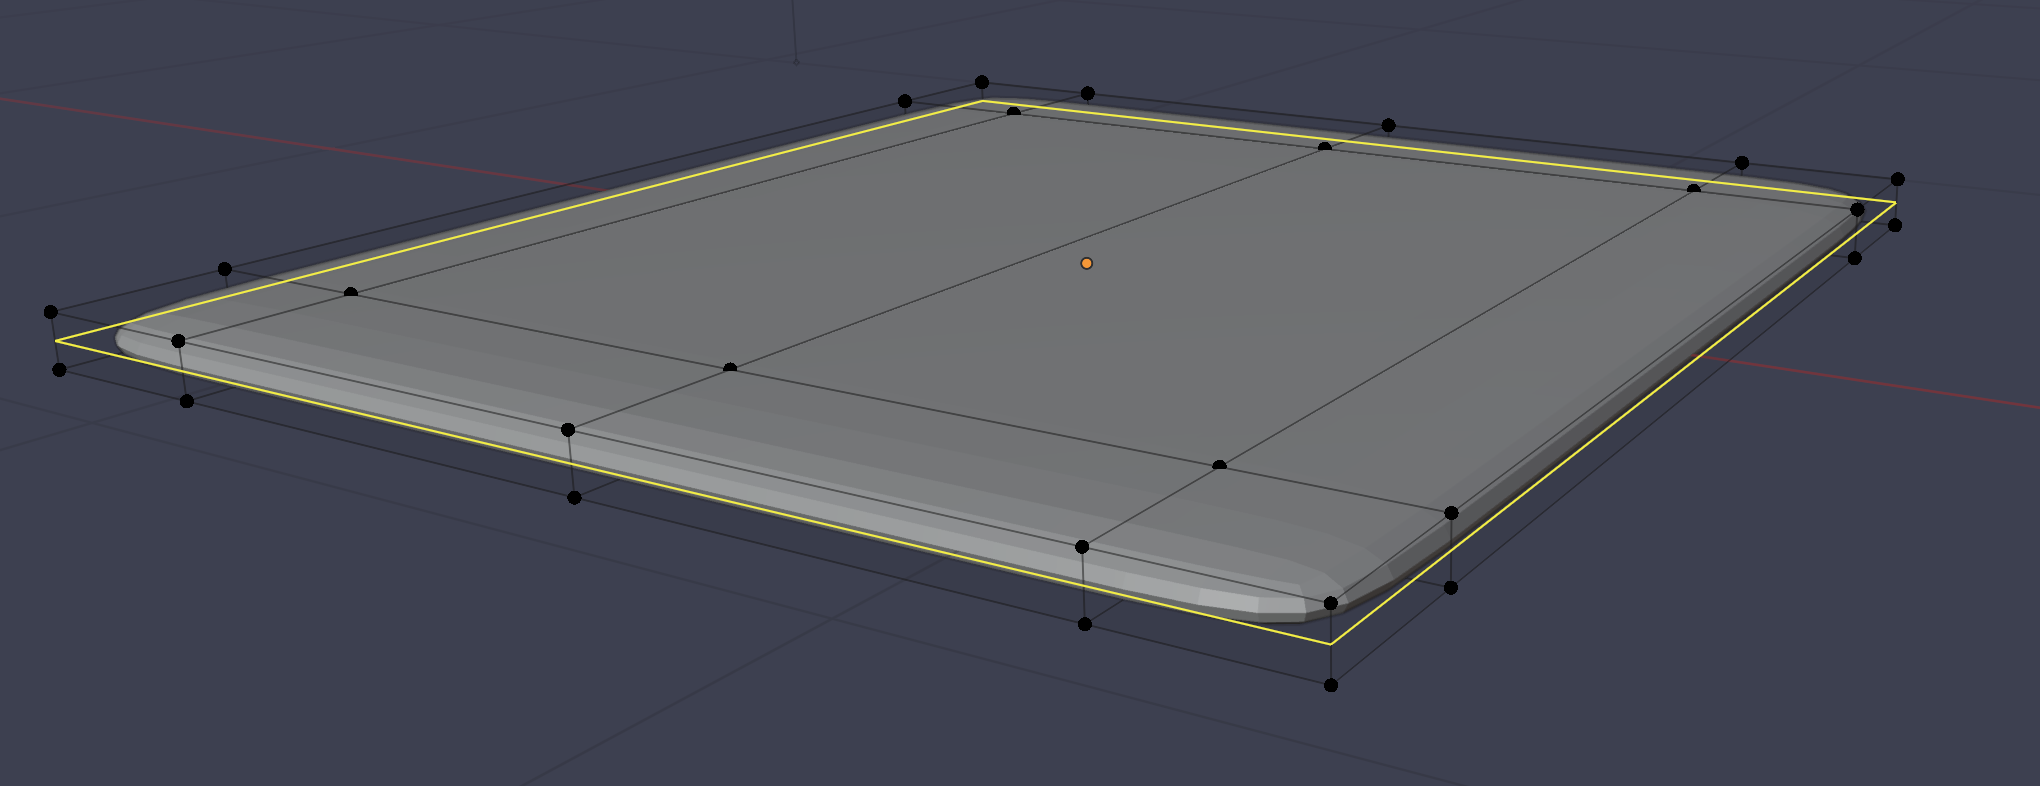 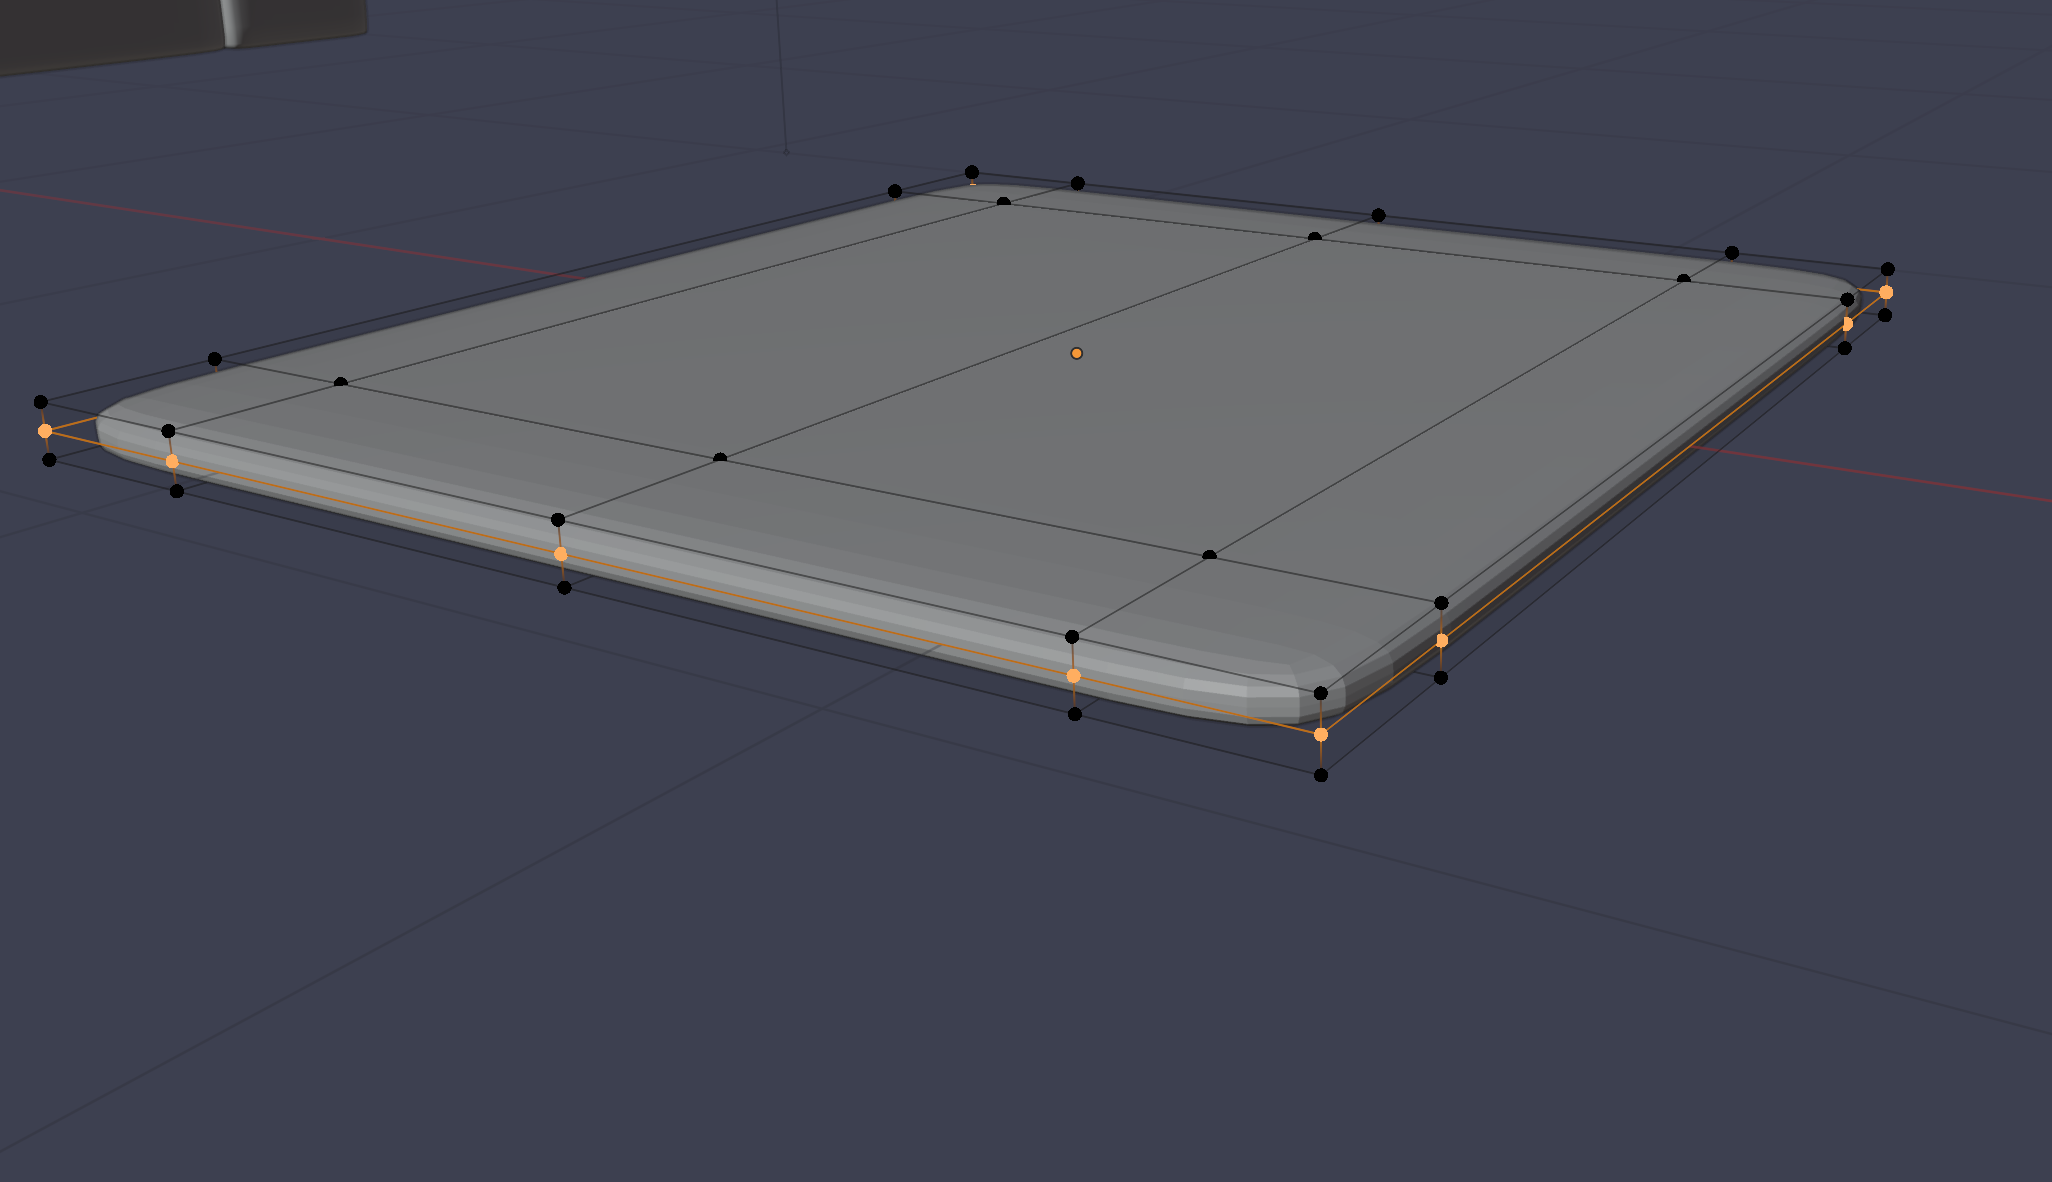 |
Make Parent Object
| Step | Operation | Image |
|---|---|---|
| 1 | Start shift selecting objects | 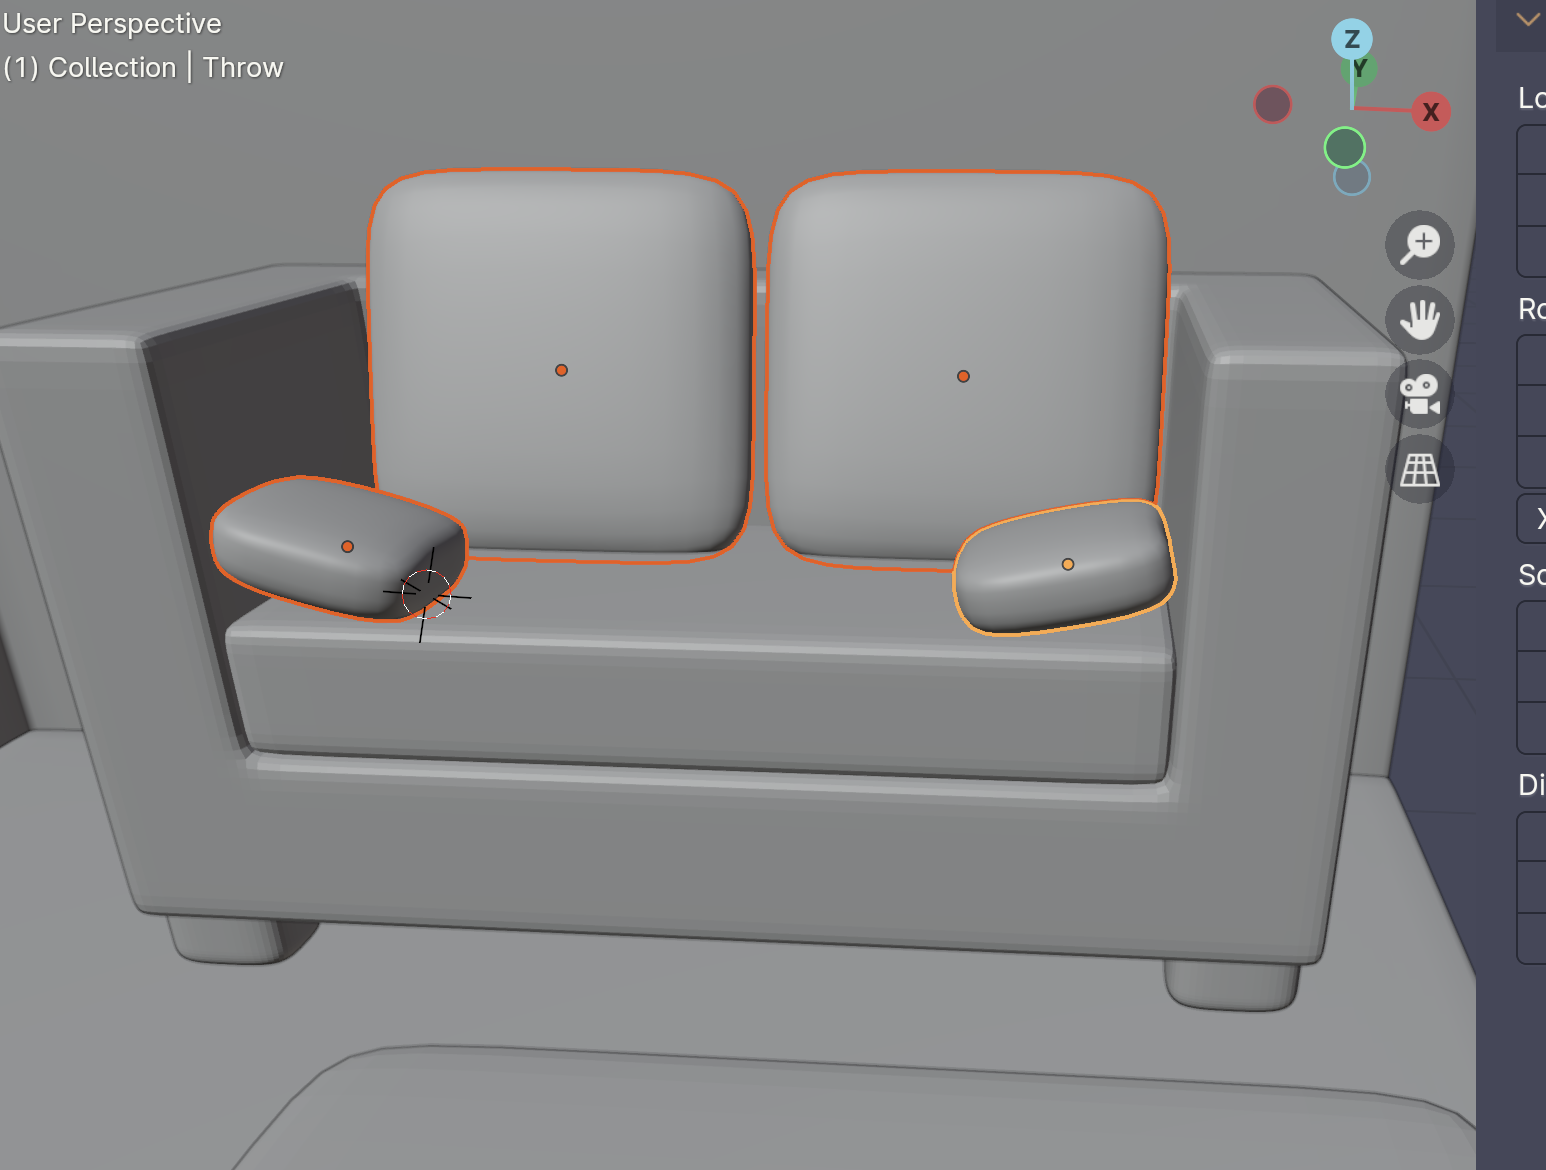 |
| 2 | make the LAST object selected the one you want as the parent object. Then cmd + p and select Object | 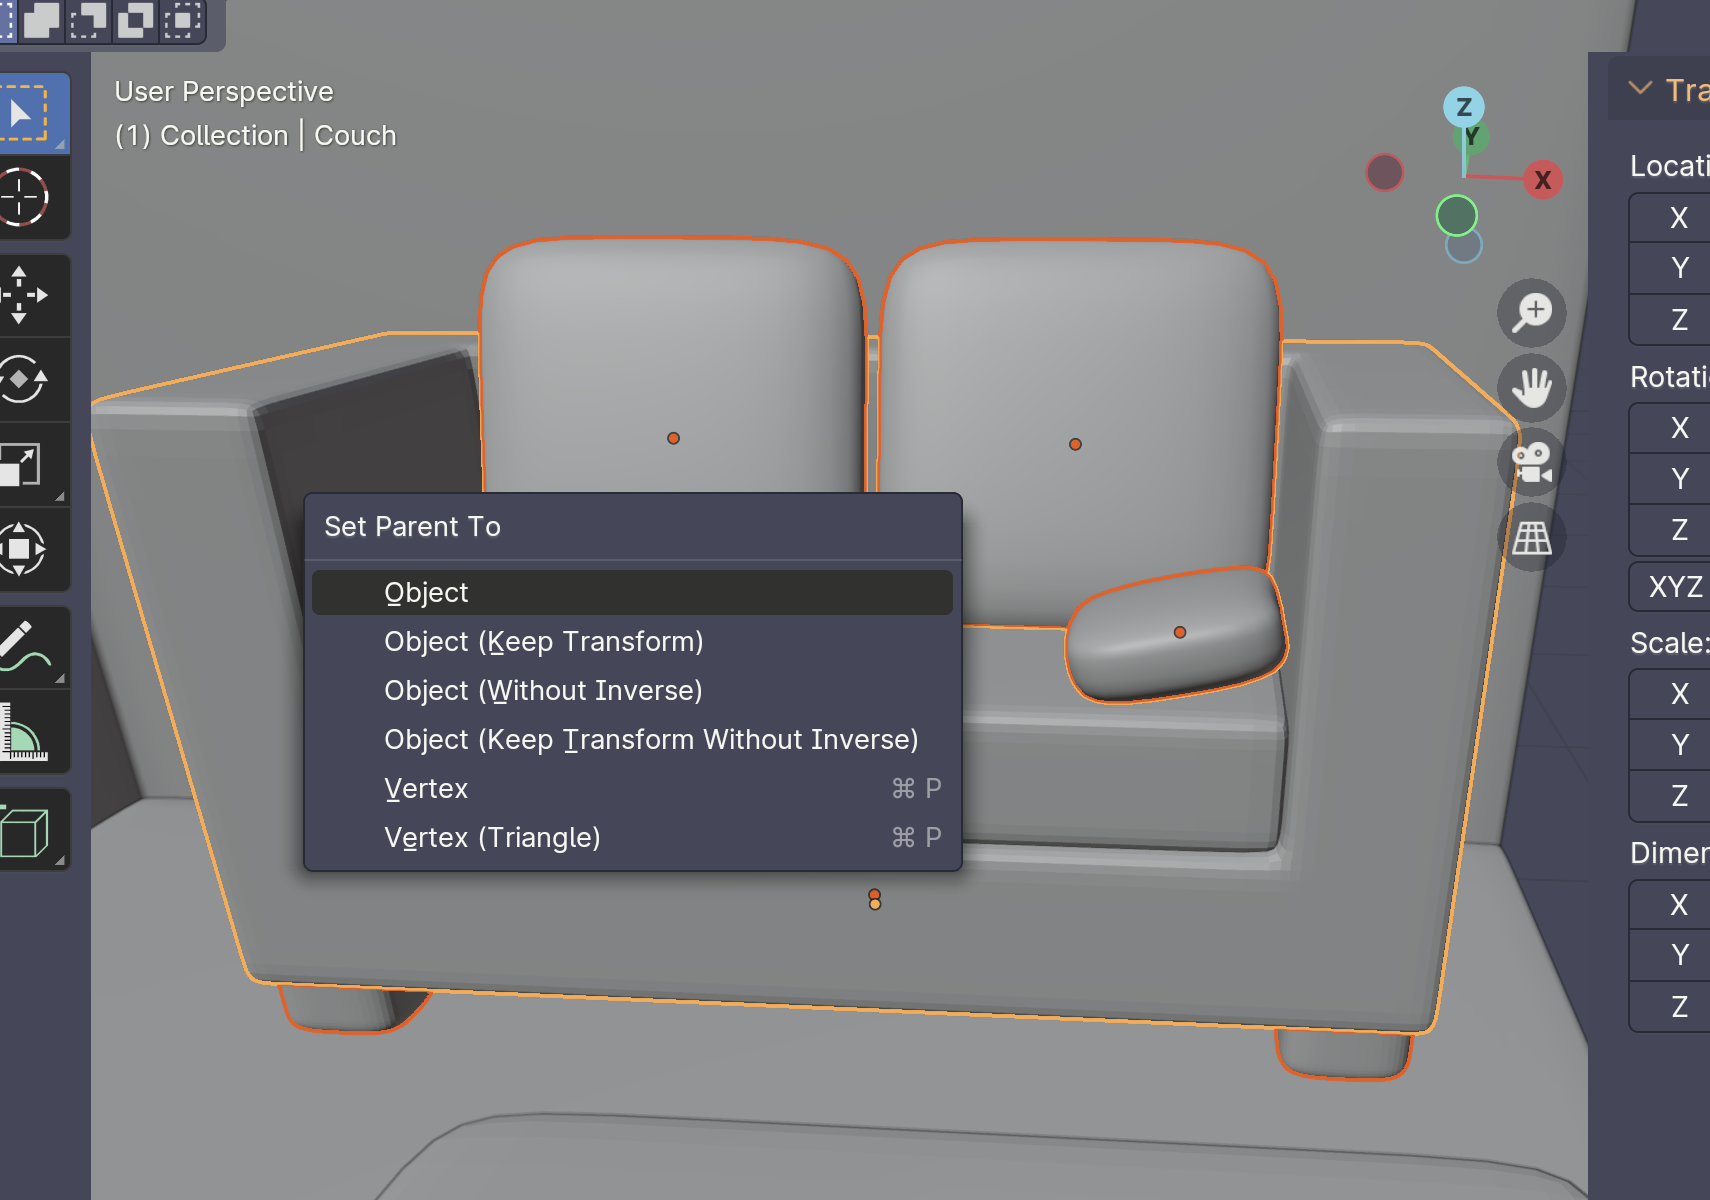 |
Copy Modifiers From One Object to Another
| Step | Operation | Image |
|---|---|---|
| 1 | Select object you want to copy modifiers TO | 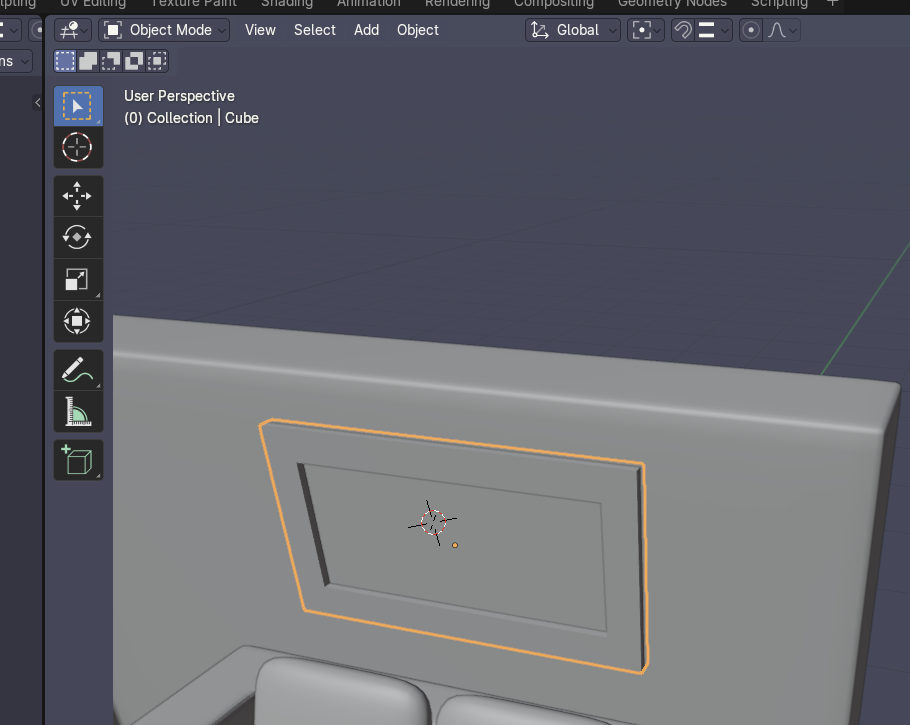 |
| 2 | Shift + Select object you want to copy modifiers FROM | 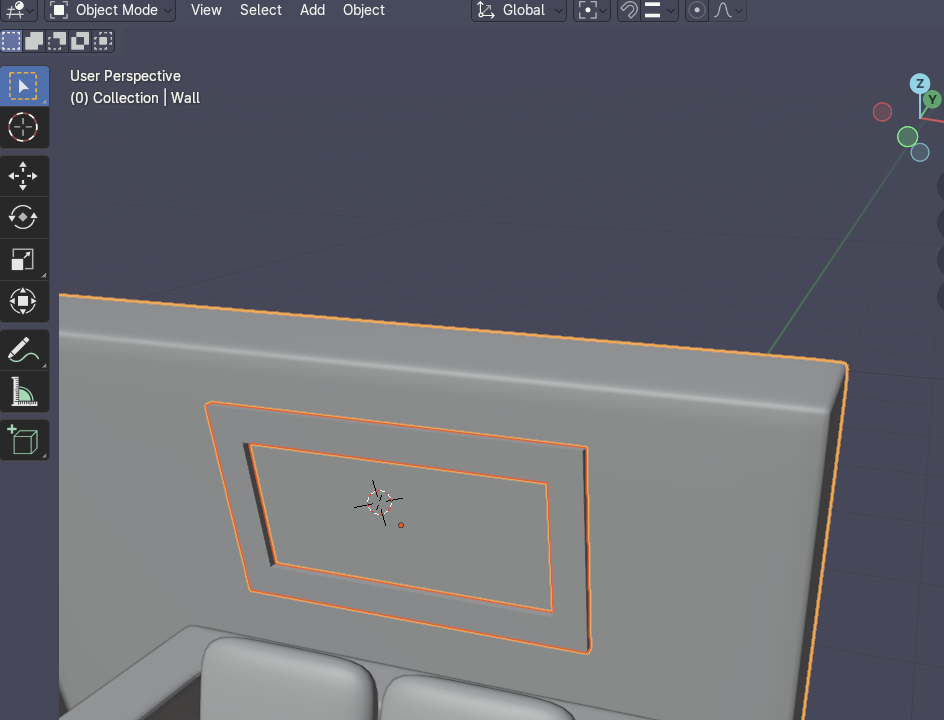 |
| 2 | Ctrl + Lthen select Copy Modifiers | 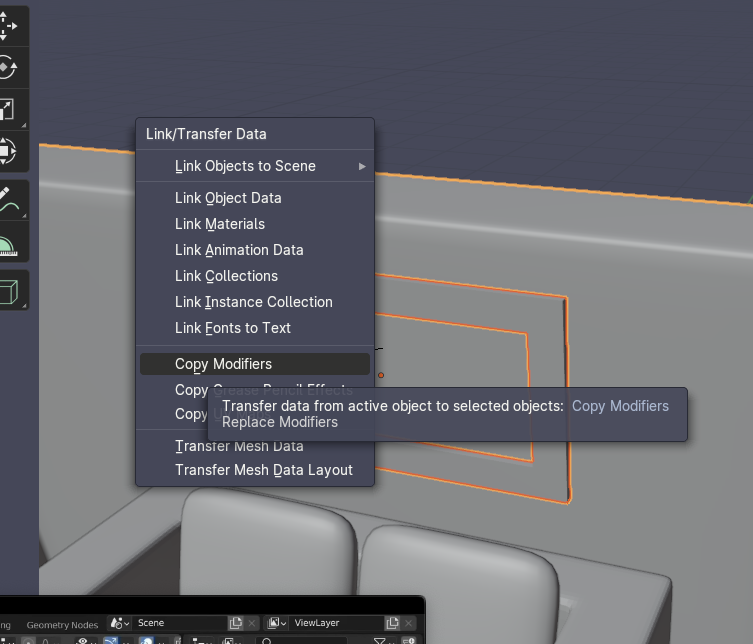 |
Loop Cut a Non 90 Degree Angled Item
| Step | Operation | Image |
|---|---|---|
| 1 | ctrl + R to start loop cut, then click once. | 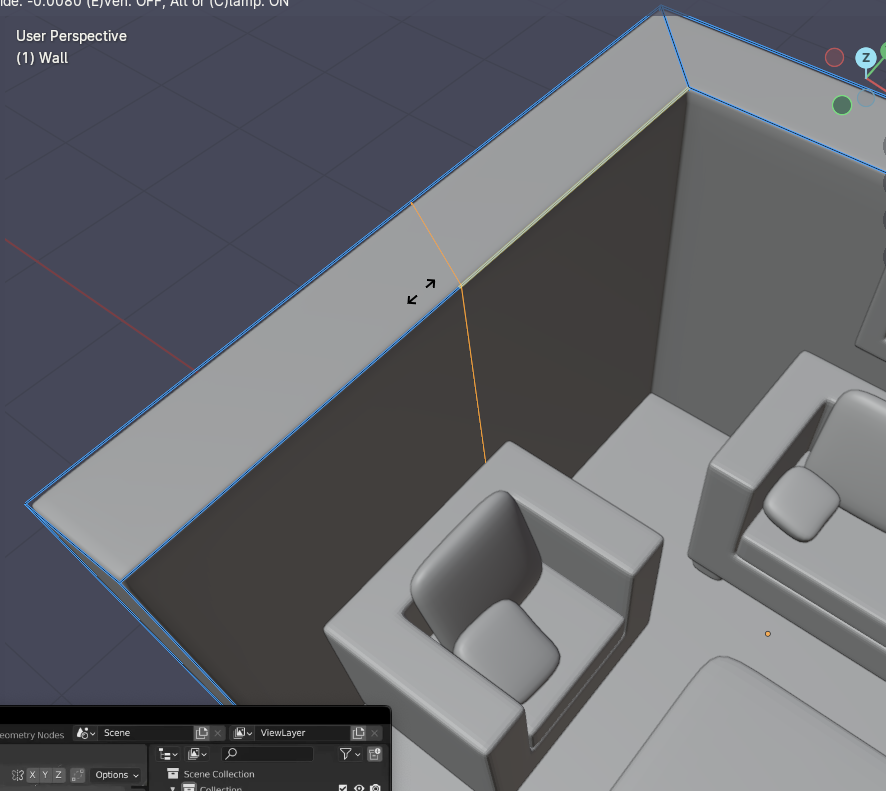 |
| 2 | Hit S, then Y, then 0. Then click to create the loop cut. | 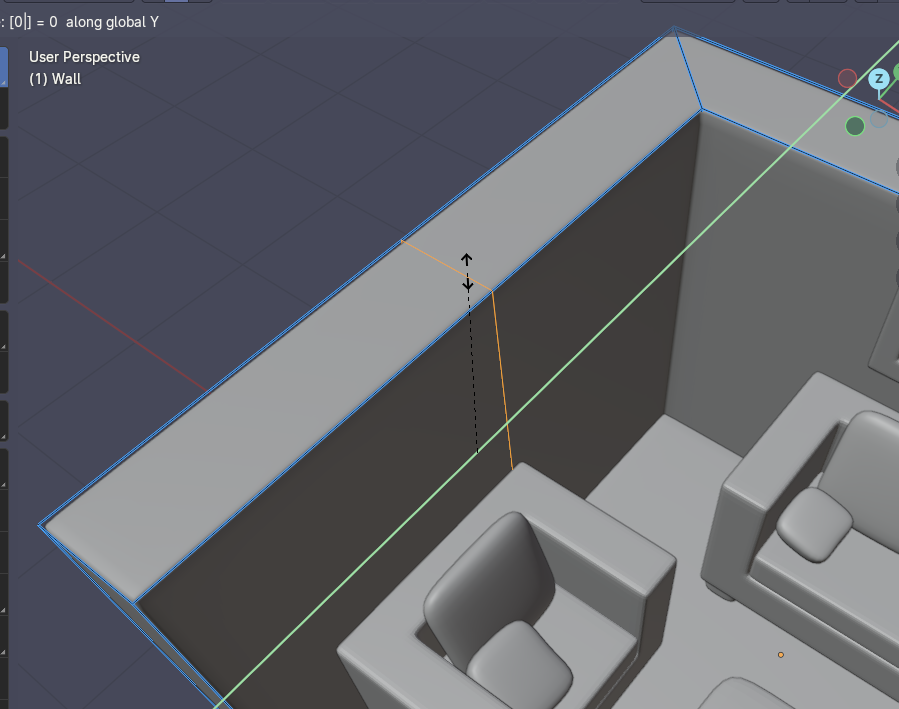 |
Cut a Hollow Shape in between Two Faces
| Step | Operation | Image |
|---|---|---|
| 1 | Select both faces | 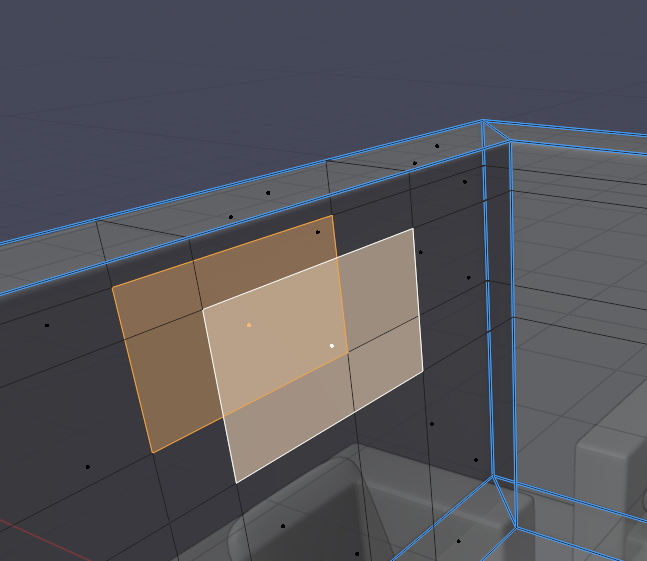 |
| 2 | Ctrl + E then select Bridge Edge Loops | 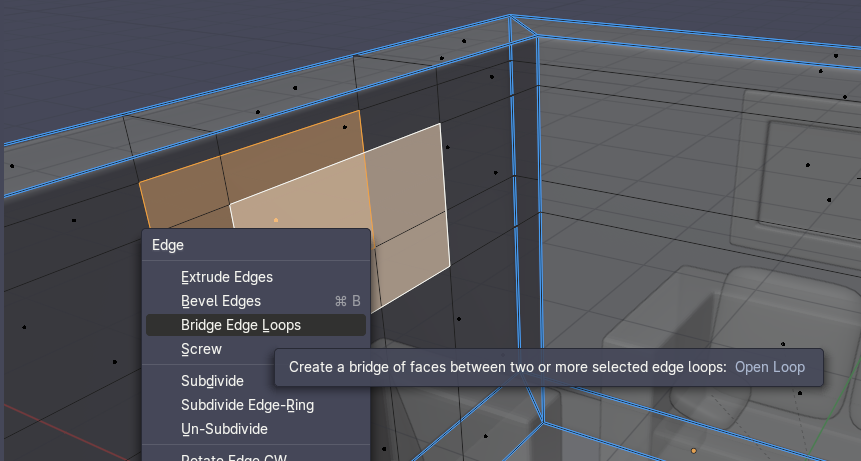 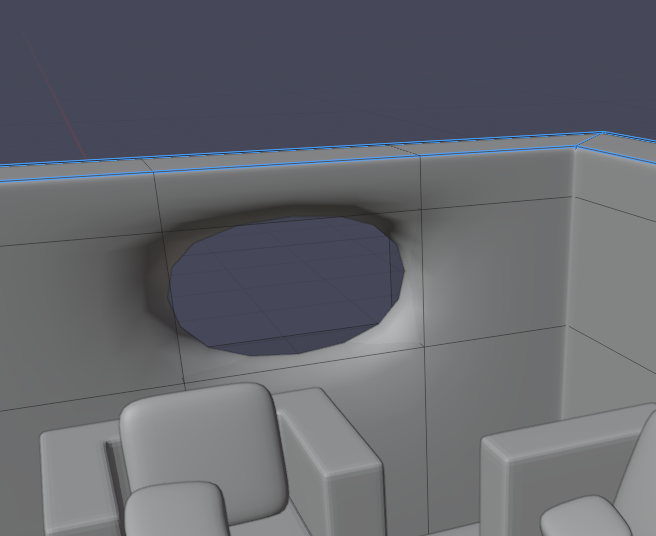 |
| 3 | Select all a then increase bevel weight | 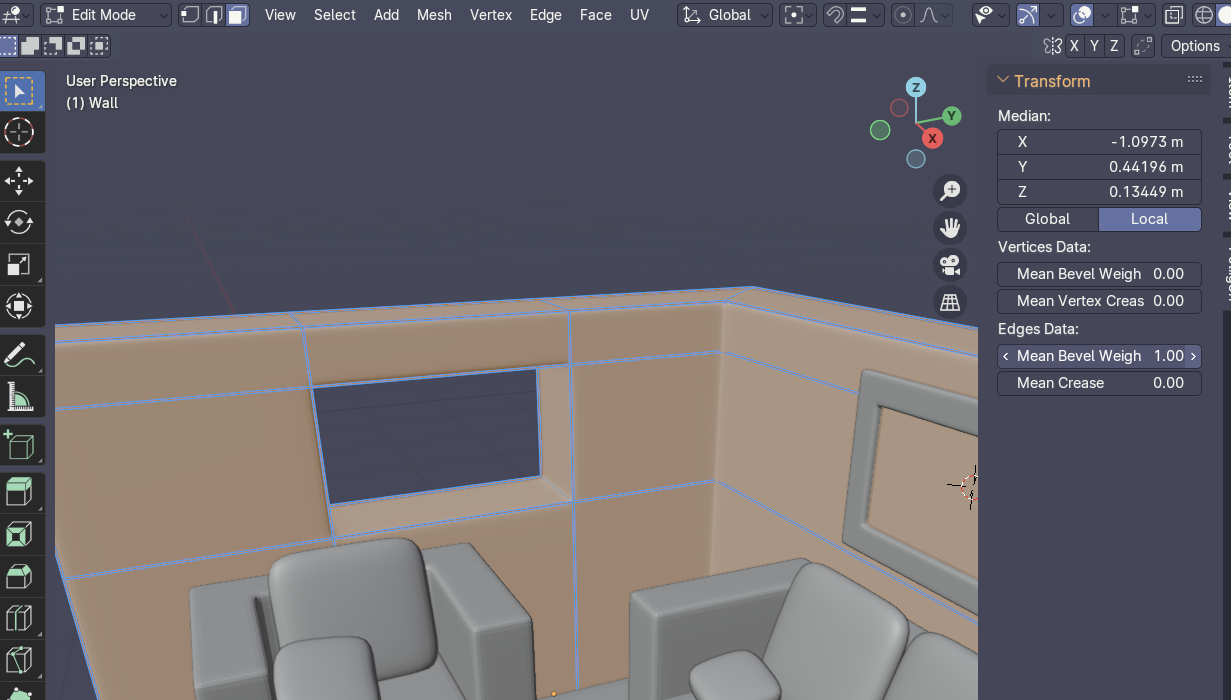 |